Verification is not one test. It is a chain of questions, each one cheap, each one narrowing what the image can be. The order matters because early answers change what the later checks mean.
Step 1: Get as close to the original as you can
The version going viral is almost never the original. It has been screenshotted, cropped, recompressed and reposted, losing evidence at every step.
Look for the earliest poster and ask for the file itself. A first-hand source who took the photo will usually have the original, with its metadata intact. Someone who "found it online" usually will not, which is informative in itself.
Step 2: Check provenance and metadata
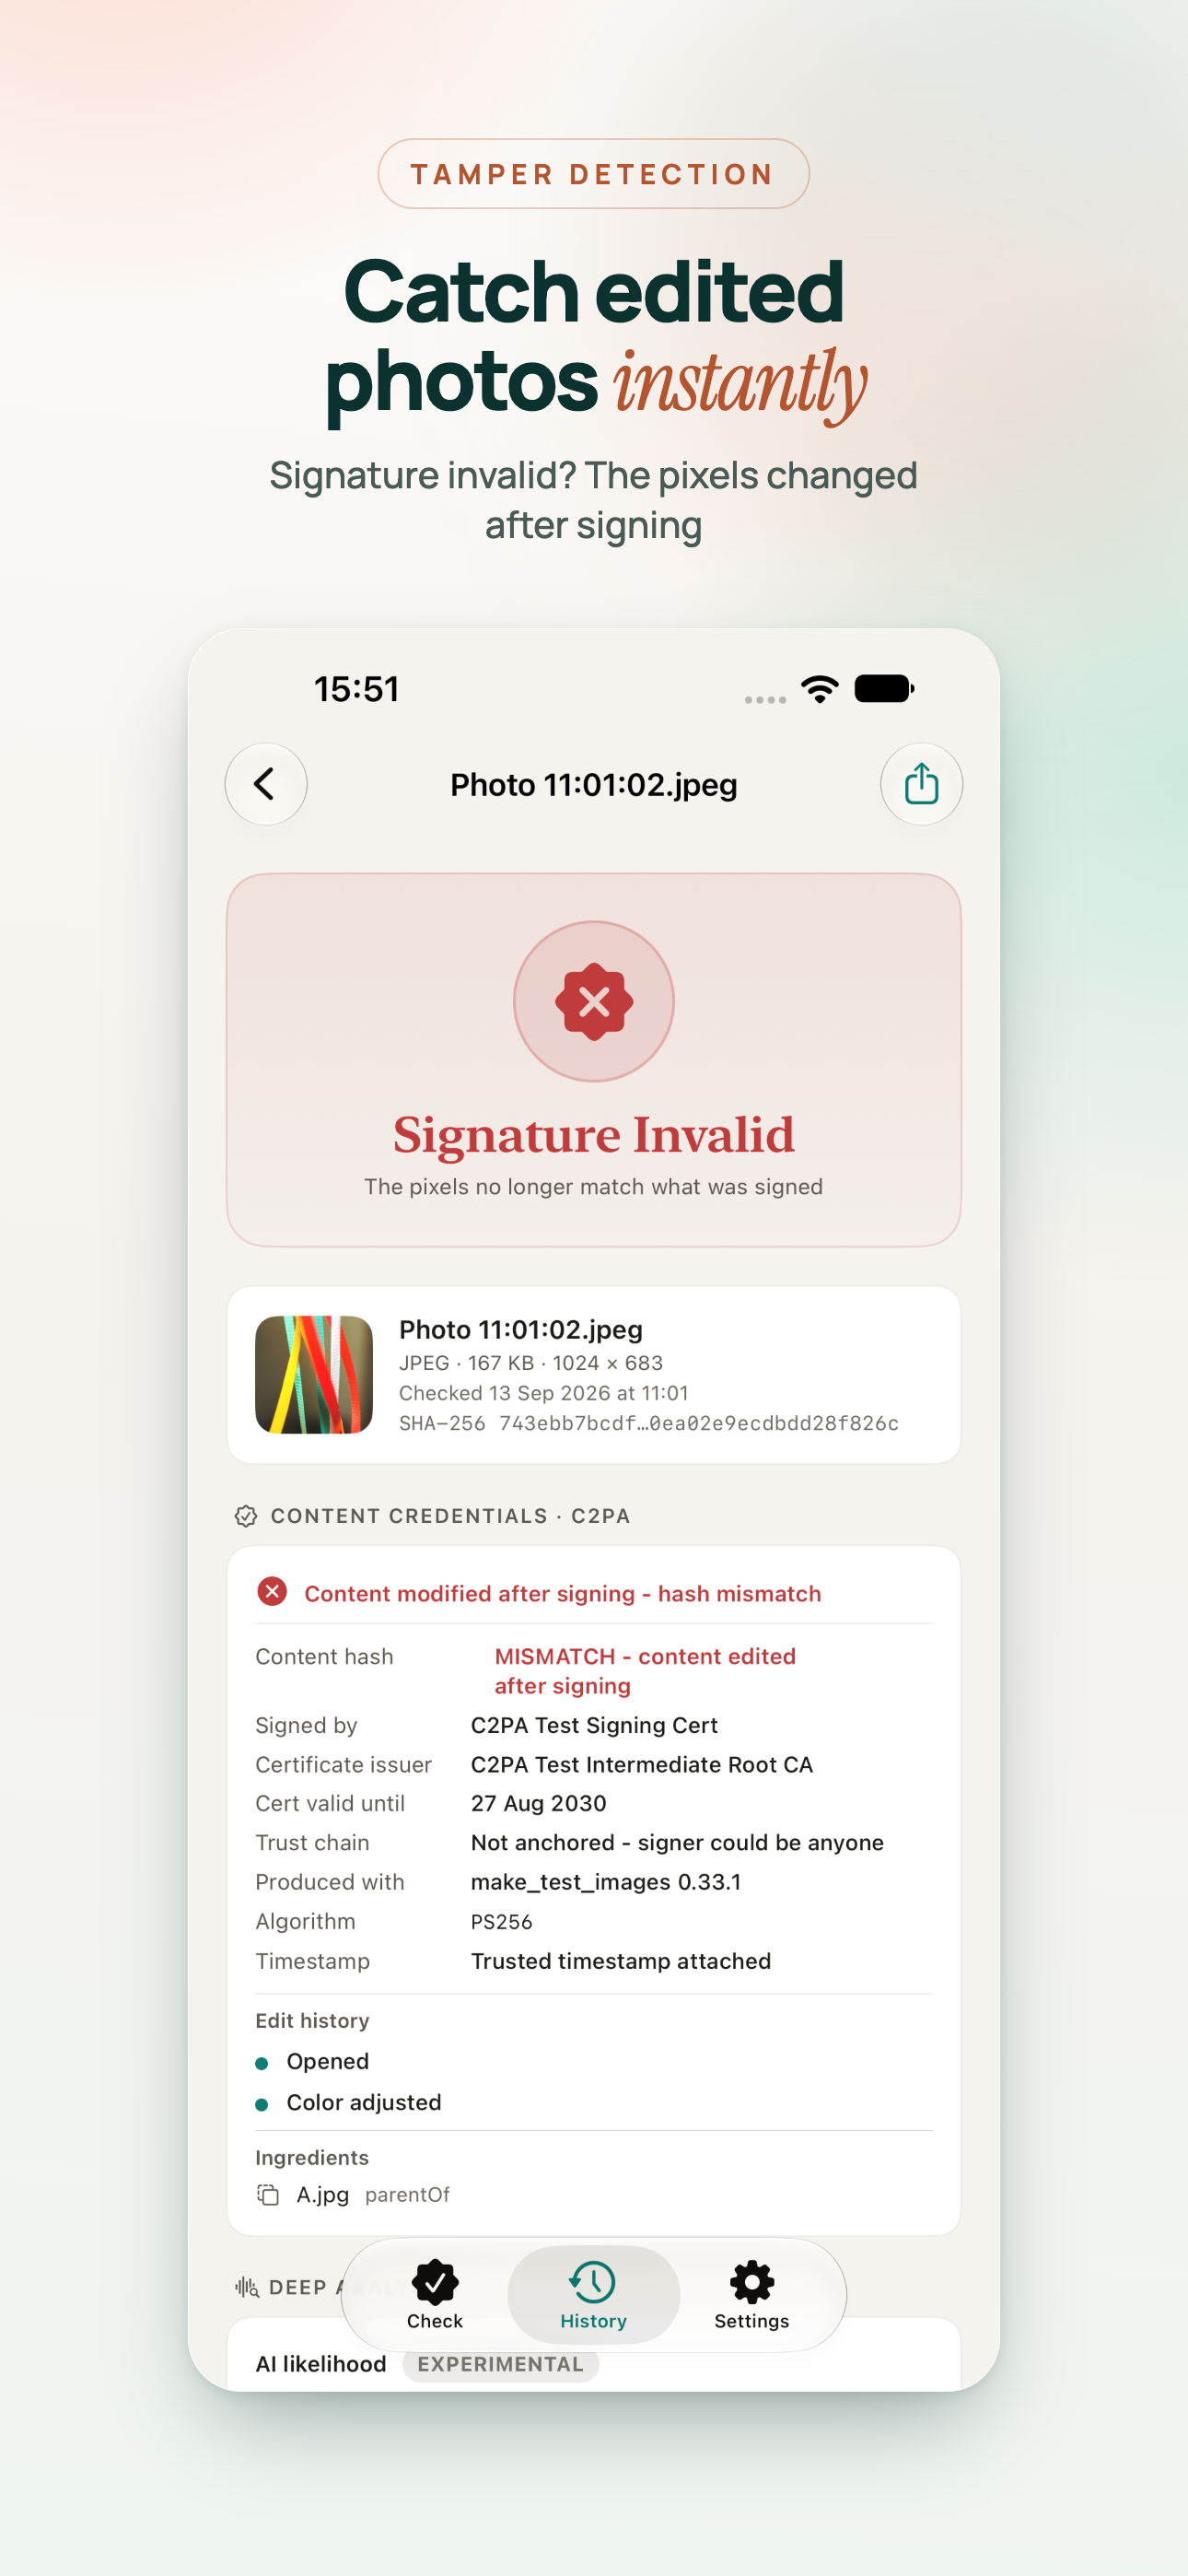
With a file in hand, check for Content Credentials. A valid, trusted C2PA signature from a camera or a news organisation's workflow is the strongest single piece of evidence you can get. AI-labelled credentials settle a different question just as fast.
Then read the metadata: capture date, device, software. Look for contradictions - a capture date after the image first appeared, an editing app where only a phone should be. Remember that metadata is editable, and that its absence is normal for anything that passed through social media.
Step 3: Find earlier copies
Reverse image search is where many viral photos fall apart. Run the image through several engines - Google Lens, TinEye, Bing and Yandex give different results. Sort by the oldest dates you can find.
The classic failure is a real photo with a false story: flooding from a different country years earlier, a crowd from a different event. The image is authentic. The claim attached to it is not.
Crop to distinctive parts of the image and search those too. A reused background or a recycled face often shows up that way.
Step 4: Check for generation and editing
If there is no provenance and no earlier copy, look at the image itself. Check for AI generation signals and, for JPEGs, run forensics for local edits.
Weigh these carefully. A detector score is a hint. An error level anomaly is a place to look. Neither is a verdict, and both are weakened by the recompression viral images have been through.
Step 5: Test it against the place
If the photo claims to show a specific location, it should match it.
- Compare buildings, signs, road markings and landmarks with street-level imagery.
- Check that the language, script and phone-number formats on signs fit the country.
- Look for details that date the scene: shopfronts, vehicles, construction.
Step 6: Test it against the time
Weather and light are hard to fake consistently. Was it raining that day, according to historical weather records? Do shadows fall in the direction the sun would have been at that hour and season? Tools that plot the sun's position for a place and date make this check quick.
Step 7: Record what you did
Keep the file you checked, note its SHA-256 hash, and write down each step and result. If the verification is challenged, you can show exactly what was examined and what it showed.
Reporting the result honestly
The outcome is rarely a clean "real" or "fake". More often it is one of these:
- Authentic image, false context.
- Authentic and in context, confirmed by source and location.
- Generated or manipulated, with specific evidence.
- Unverified - not enough evidence either way.
"Unverified" is a legitimate result, and saying so plainly does more for credibility than a confident call that later turns out wrong.