Photographing a document and calling it a scan is the default behaviour, and it produces a 12-megapixel image of a piece of paper at an angle, with a shadow across it, in a 9 MB file. It is technically legible and it gets returned.
A proper scan differs in four ways, and all four are automatic in any real scanning tool.
Perspective correction
Held above a page, a phone photographs a trapezoid - the far edge is narrower than the near one. Edge detection finds the four corners and warps the image back to a rectangle.
This is what makes the output look like a document rather than a photograph, and it is the single most visible difference. It also matters for OCR, which struggles with converging text lines.
Contrast and background removal
Paper photographed under domestic lighting is grey and uneven. Scanning modes push the background to white and the text to black, which both reduces file size dramatically and makes the page readable.
The setting to be careful with is on documents with faint pencil, a light signature or a pale stamp - aggressive contrast can remove exactly the mark that matters. If the document has anything faint on it, check the output before sending.
Lighting, which is on you
The one part no software fixes reliably.
- Diffuse light, from the side. Near a window is ideal. Overhead light puts your own shadow on the page.
- Do not use the flash on glossy paper - it produces a bright disc exactly in the middle.
- Flatten the page. A curled receipt casts shadows that read as smudges after contrast processing.
- Dark surface underneath. Edge detection finds the paper faster against a contrasting background, and white paper on a white table is the case where it fails.
File size, which is why things get rejected
Government portals, insurance uploads and job applications routinely cap attachments at 2, 5 or 10 MB. A multi-page photo-quality scan clears that easily.
What controls it:
- Colour mode. Black and white for text documents is often a tenth the size of colour, and for a contract there is nothing lost.
- Resolution. 200 dpi is fine for text; 300 is the sensible maximum for anything you are emailing. Higher is for archival scanning of photographs.
- Compression. A visible quality setting rather than a preset called Reduce File Size, which on macOS is notoriously aggressive and turns readable scans into artefacts.
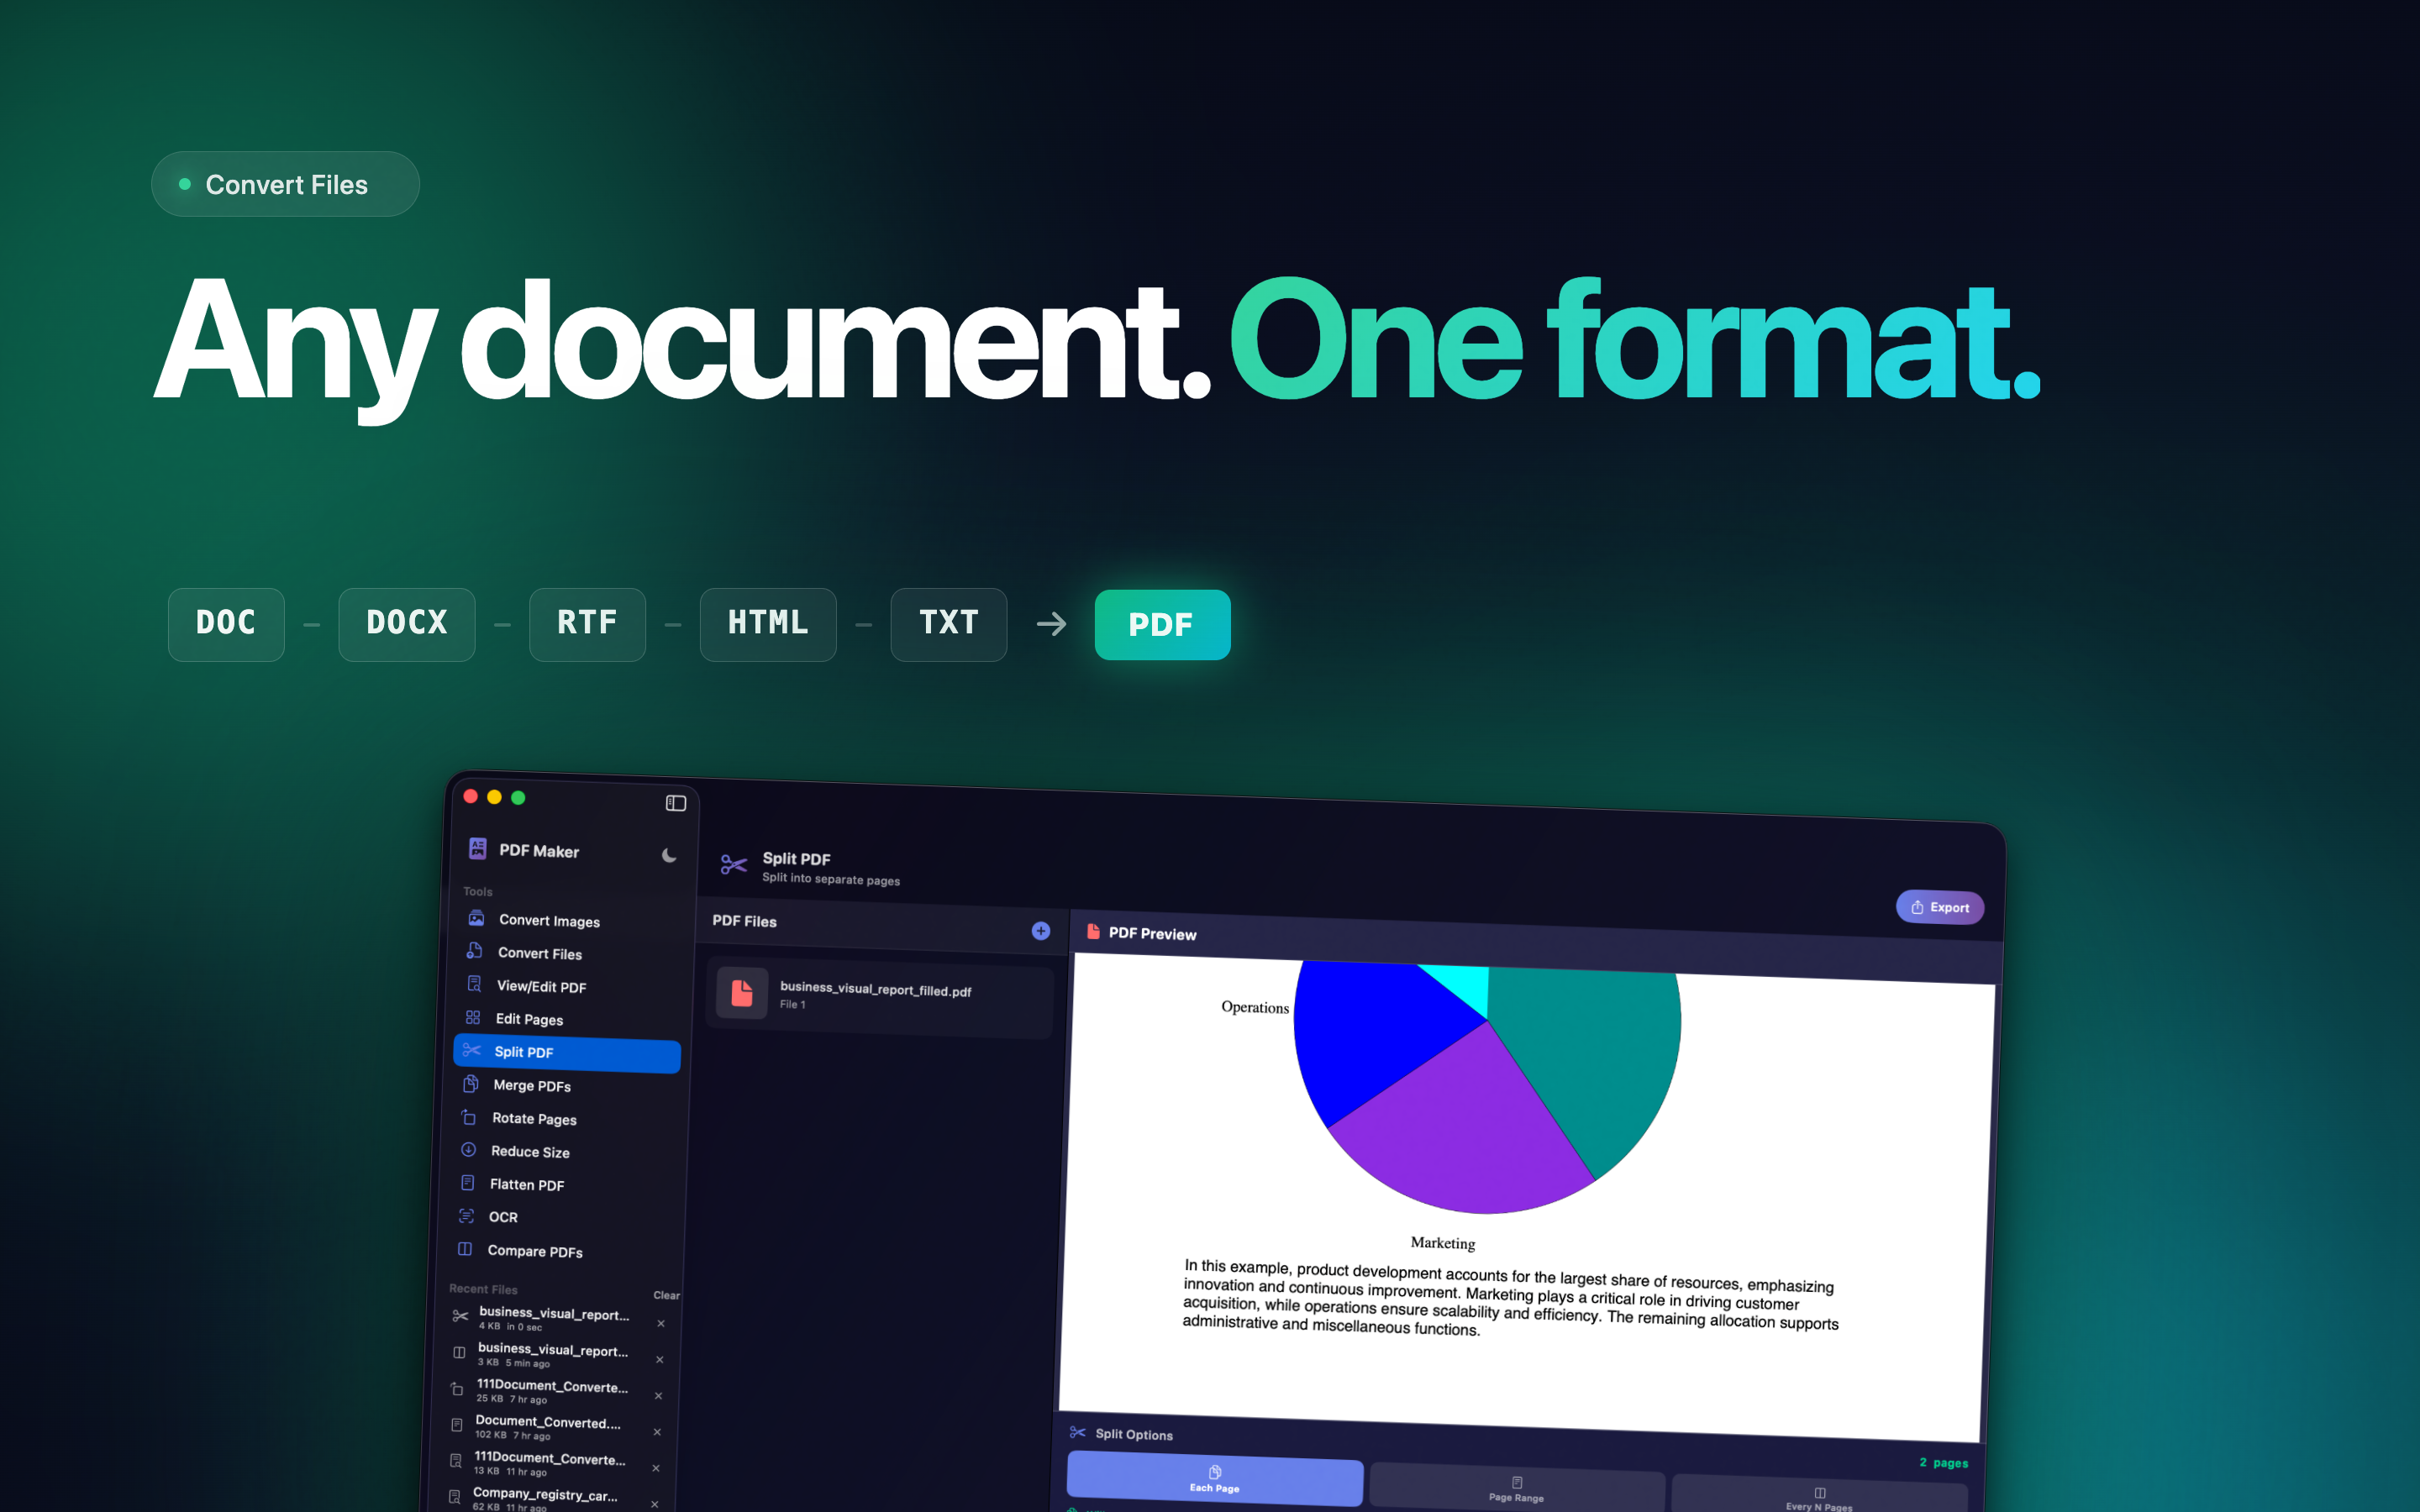
PDF Maker handles the scan, the correction and the compression with the settings visible before you commit, which is mostly about not discovering the size problem at the upload form.
One PDF, not five images
The most common practical mistake. A five-page document sent as five JPEGs will be treated as five separate attachments, and the second one is the one that gets lost.
Scan directly to a multi-page PDF. If you already have images, combine them - we covered the options and their traps in merging PDFs on a Mac.
Name the file so it survives being saved to a shared drive: Smith - Proof of address - Mar 2025.pdf, not scan.pdf.
Searchable text, and when it matters
A scan is an image. Text recognition adds an invisible layer behind it so the document can be searched and copied from.
Worth having for anything you will need to find later - contracts, receipts, manuals. Not worth worrying about for a one-off form you are uploading and forgetting.
The thing to know: that layer is fragile. Any process that rasterises pages - printing to PDF, some merge tools - discards it silently, and the document looks identical afterwards. Test by selecting a word in the output; if nothing highlights, it is gone.
Before you send
- All four corners visible, page straight.
- No glare or shadow across text.
- Faint marks still visible after contrast.
- One PDF, all pages, right order.
- Under the portal's size limit.
- Filename someone could find again.
Thirty seconds, and it is the difference between done and doing it again on Thursday.