The usual checklist for wiping a Mac covers the things that will lock you out if you skip them. Those matter and are below. But the step that produces the most regret is not on any of Apple's pages, because it is not about the machine at all - it is about knowing, later, what used to be on it.
The order that matters
Do these in sequence. Several of them fail if the machine is already erased, which is the whole reason people end up on support forums.
1. Back up - and verify the backup
Time Machine, a clone, or a manual copy of what matters. Then check it: open three files at random from the backup, one of which should be large. A backup nobody has restored from is a hypothesis.
Do this even if you think everything is in iCloud. iCloud syncs what it is told to sync, and there is always a folder that was never in it.
2. Write down what was there
The step that gets skipped, and the one people miss afterwards. A backup restores files you know to look for. It does nothing for the question "what was the name of that contract from 2019", because you cannot search a drive you no longer have.
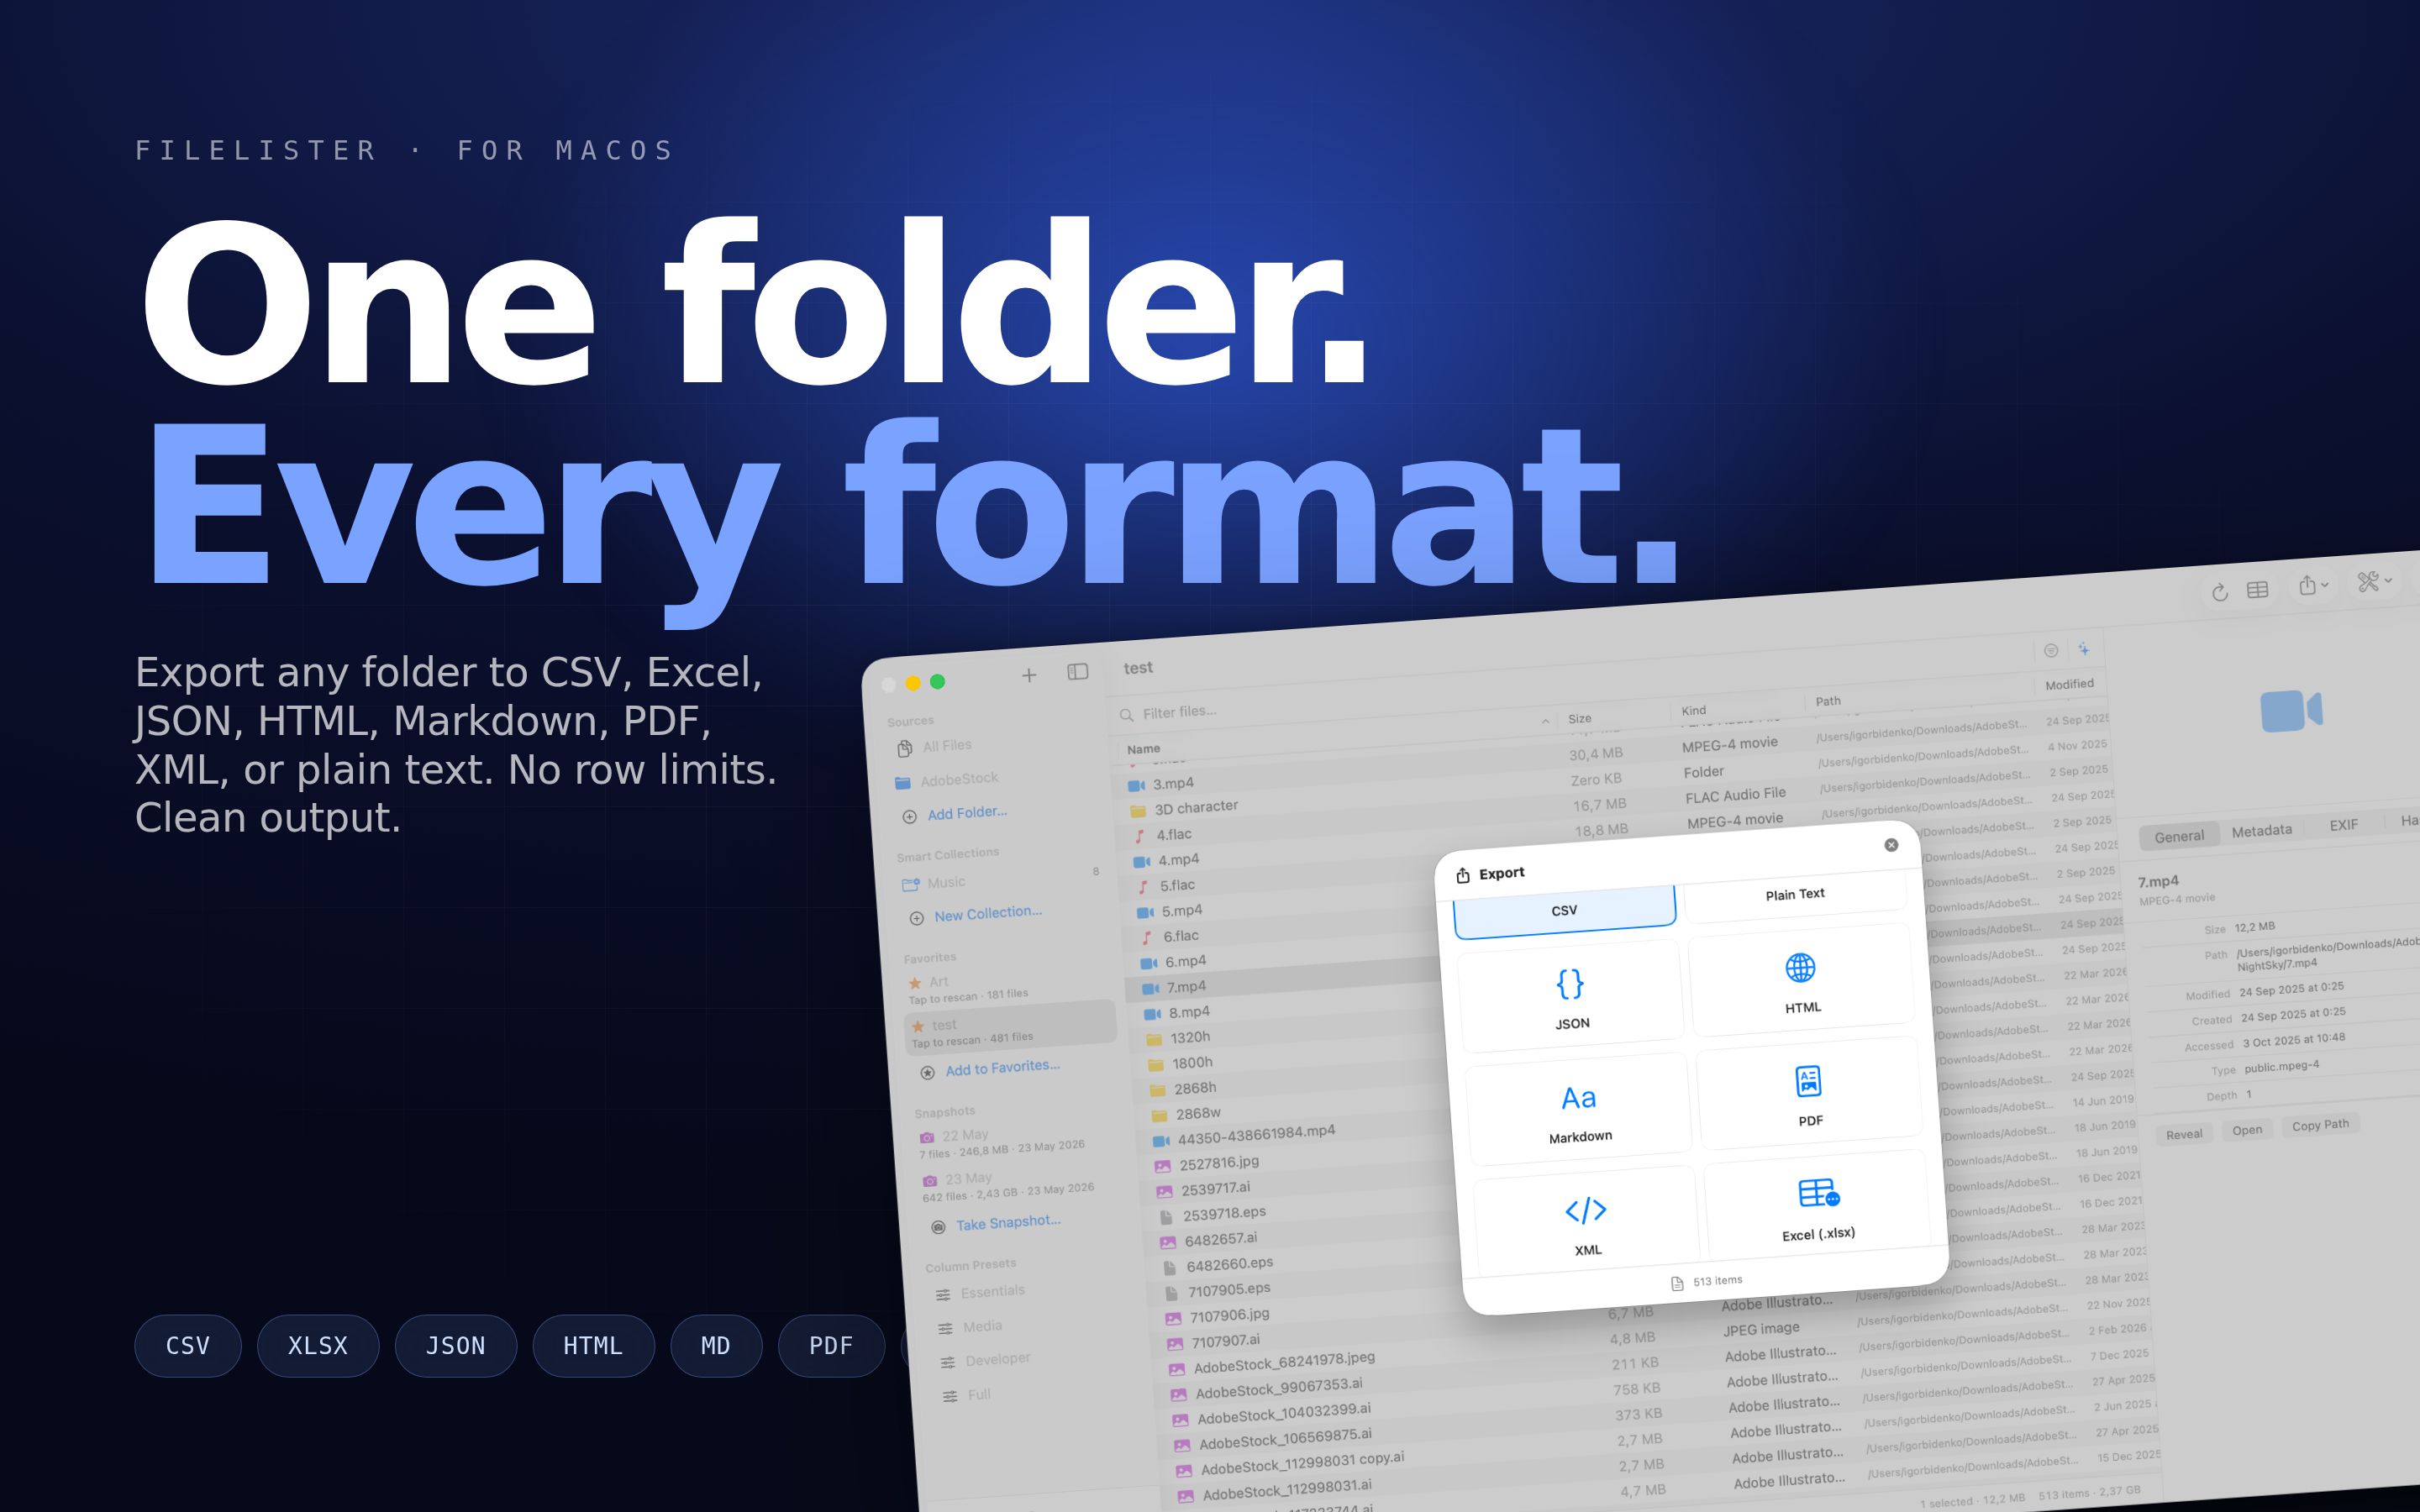
Scan the volume and export a list - names, sizes, dates, full paths. It takes a few minutes and produces a file you can search for the rest of the machine's afterlife. FileLister does exactly this and exports to CSV or Excel.
The specific situations where this pays off, all of which we have watched happen:
- You need to prove a file existed on a given date.
- You restore from a backup and want to confirm nothing is missing - a diff between the catalogue and the restore answers it in seconds.
- A client asks for something from an old project and you need to know whether you ever had it.
- You are handing the machine to a colleague and need a record of what was removed.
Store the catalogue somewhere that is not the machine. The number of people who saved the inventory to the drive they then erased is not zero.
3. Sign out of everything, in the right order
Each of these is a support call if done after the erase.
- Turn off Find My. System Settings → your name → Find My → Find My Mac off. This releases Activation Lock. A Mac sold with it still on is a brick for the buyer.
- Sign out of iCloud. It will offer to keep a local copy of your data - accept, because you are about to erase it anyway and it makes the sign-out cleaner.
- Sign out of iMessage. Messages → Settings → iMessage → Sign Out. Skipping this is why some people keep receiving messages on a machine they sold.
- Deauthorise in Music and TV. Account → Authorisations → Deauthorise This Computer. You get a limited number of authorisations, and reclaiming one from a machine you no longer own means deauthorising all of them and starting again.
4. Deactivate licensed software
Adobe, Microsoft, JetBrains, DaVinci Resolve, most audio plugins - anything with per-machine activation. Deactivating takes a click on a running machine and a support ticket afterwards.
Worth checking your own list here rather than a generic one, because the expensive licence is always the one nobody thinks of.
5. Unpair and disconnect
Bluetooth accessories, if they are going with you. And check whether the Mac is still trusted anywhere - a browser session, a two-factor setup, a VPN certificate. Revoking those on your account side is easier than remembering later that an unknown device is authorised.
6. Then erase
On Apple Silicon and T2 Macs, System Settings → General → Transfer or Reset → Erase All Content and Settings. This is the correct method and the one to use - the drive is encrypted at rest, so erasing the keys renders the data unrecoverable instantly.
The old advice about multi-pass secure erase applies to spinning disks and is meaningless on modern SSDs. It also wastes write cycles. Do not do it.
The parts specific to selling
If the Mac is going to a stranger rather than a family member:
- Reinstall macOS after erasing, so the buyer gets a setup screen rather than a recovery prompt. It looks finished, and it removes any question about what state the machine is in.
- Check the battery cycle count and condition before listing, and state it. It is the first thing an informed buyer asks.
- Photograph the serial number for your own records before it leaves.
- Keep the catalogue from step two. If a question about the machine's contents ever comes up, you have an answer.
Handing a machine to a colleague
A different job. Usually you are not erasing at all, you are removing yourself - which is harder to do completely and easier to do badly.
The inventory matters more here, not less. The person receiving it will ask where things are for months, and a searchable list of what was on the machine and where turns each of those questions into ten seconds instead of a conversation.
The short version
- Back up, then open three files from the backup.
- Catalogue the drive and store the list elsewhere.
- Find My off, iCloud out, iMessage out, Music and TV deauthorised.
- Deactivate licensed software.
- Erase All Content and Settings.
- Reinstall macOS if it is being sold.
Step two is the only one that is optional in the sense that nothing breaks without it. It is also the only one you cannot go back and do.