Since iOS 11, an iPhone photographing in its default mode produces a .heic file. It is a good format - roughly half the size of the equivalent JPEG at the same visual quality, with support for 10-bit colour, transparency and multiple images in one container, which is how Live Photos work.
It is also the format that a colleague's Windows laptop, a print shop's upload form and a decade-old photo frame will all refuse to open. So conversion is a real need, and it is worth doing properly, because the careless version costs you something you will not notice until much later.
What actually happens in the conversion
Three things change, and only one of them is obvious.
Recompression. HEIC and JPEG are both lossy, and they compress differently. Going from one to the other means decoding and re-encoding, and that always costs a little quality. At a sensible JPEG quality setting the loss is invisible on a screen. At the low quality settings some converters use by default, it is not - and you cannot get it back, because the original detail is gone.
File size goes up. Usually by roughly double. This surprises people who expected converting to a "simpler" format to save space. HEIC is simply more efficient; JPEG is a format from 1992.
Metadata may or may not survive. This is the one that matters and the one most tools handle badly.
The metadata problem
Every photo carries EXIF data: when it was taken, the camera and lens, exposure settings, and often the GPS coordinates. Your photo library uses that date to sort, group into Memories, and place things on a map.
A converter that drops EXIF produces files whose only date is the file creation date - the moment you converted them. Import those into Photos and a decade of holidays all land on the same Tuesday afternoon, in no particular place. The images look identical. The library that organises them is ruined.
This is not a rare failure. Plenty of free web converters strip metadata as a side effect of how they process uploads, and a few do it deliberately for privacy reasons without saying so on the page.
So the first question to ask of any conversion tool is whether it preserves EXIF, and the way to check is not to read the marketing copy - convert one file, then look at its Info panel in Finder and confirm the capture date and location are still there.
The GPS question, in both directions
Sometimes you want location data gone. Photos you are about to post publicly carry the coordinates of wherever they were taken, which for anything shot at home is a detail worth thinking about before it goes on the internet.
So the right behaviour is not "always keep everything" but a choice you make deliberately: keep dates and camera data, and decide separately about location. A converter that gives you that switch is doing the job; one that silently picks for you is not, whichever way it picks.
Doing it in bulk on a Mac
For one photo, Preview will do it: open the file, File → Export, choose JPEG. Fine for a single image, unbearable for four hundred.
For a folder, macOS has a built-in option most people never find. Select the files in Finder, right-click, and look under Quick Actions for Convert Image. It works, it is free, and it has two real limitations: the quality control is three vague options rather than a number, and there is no metadata switch at all.
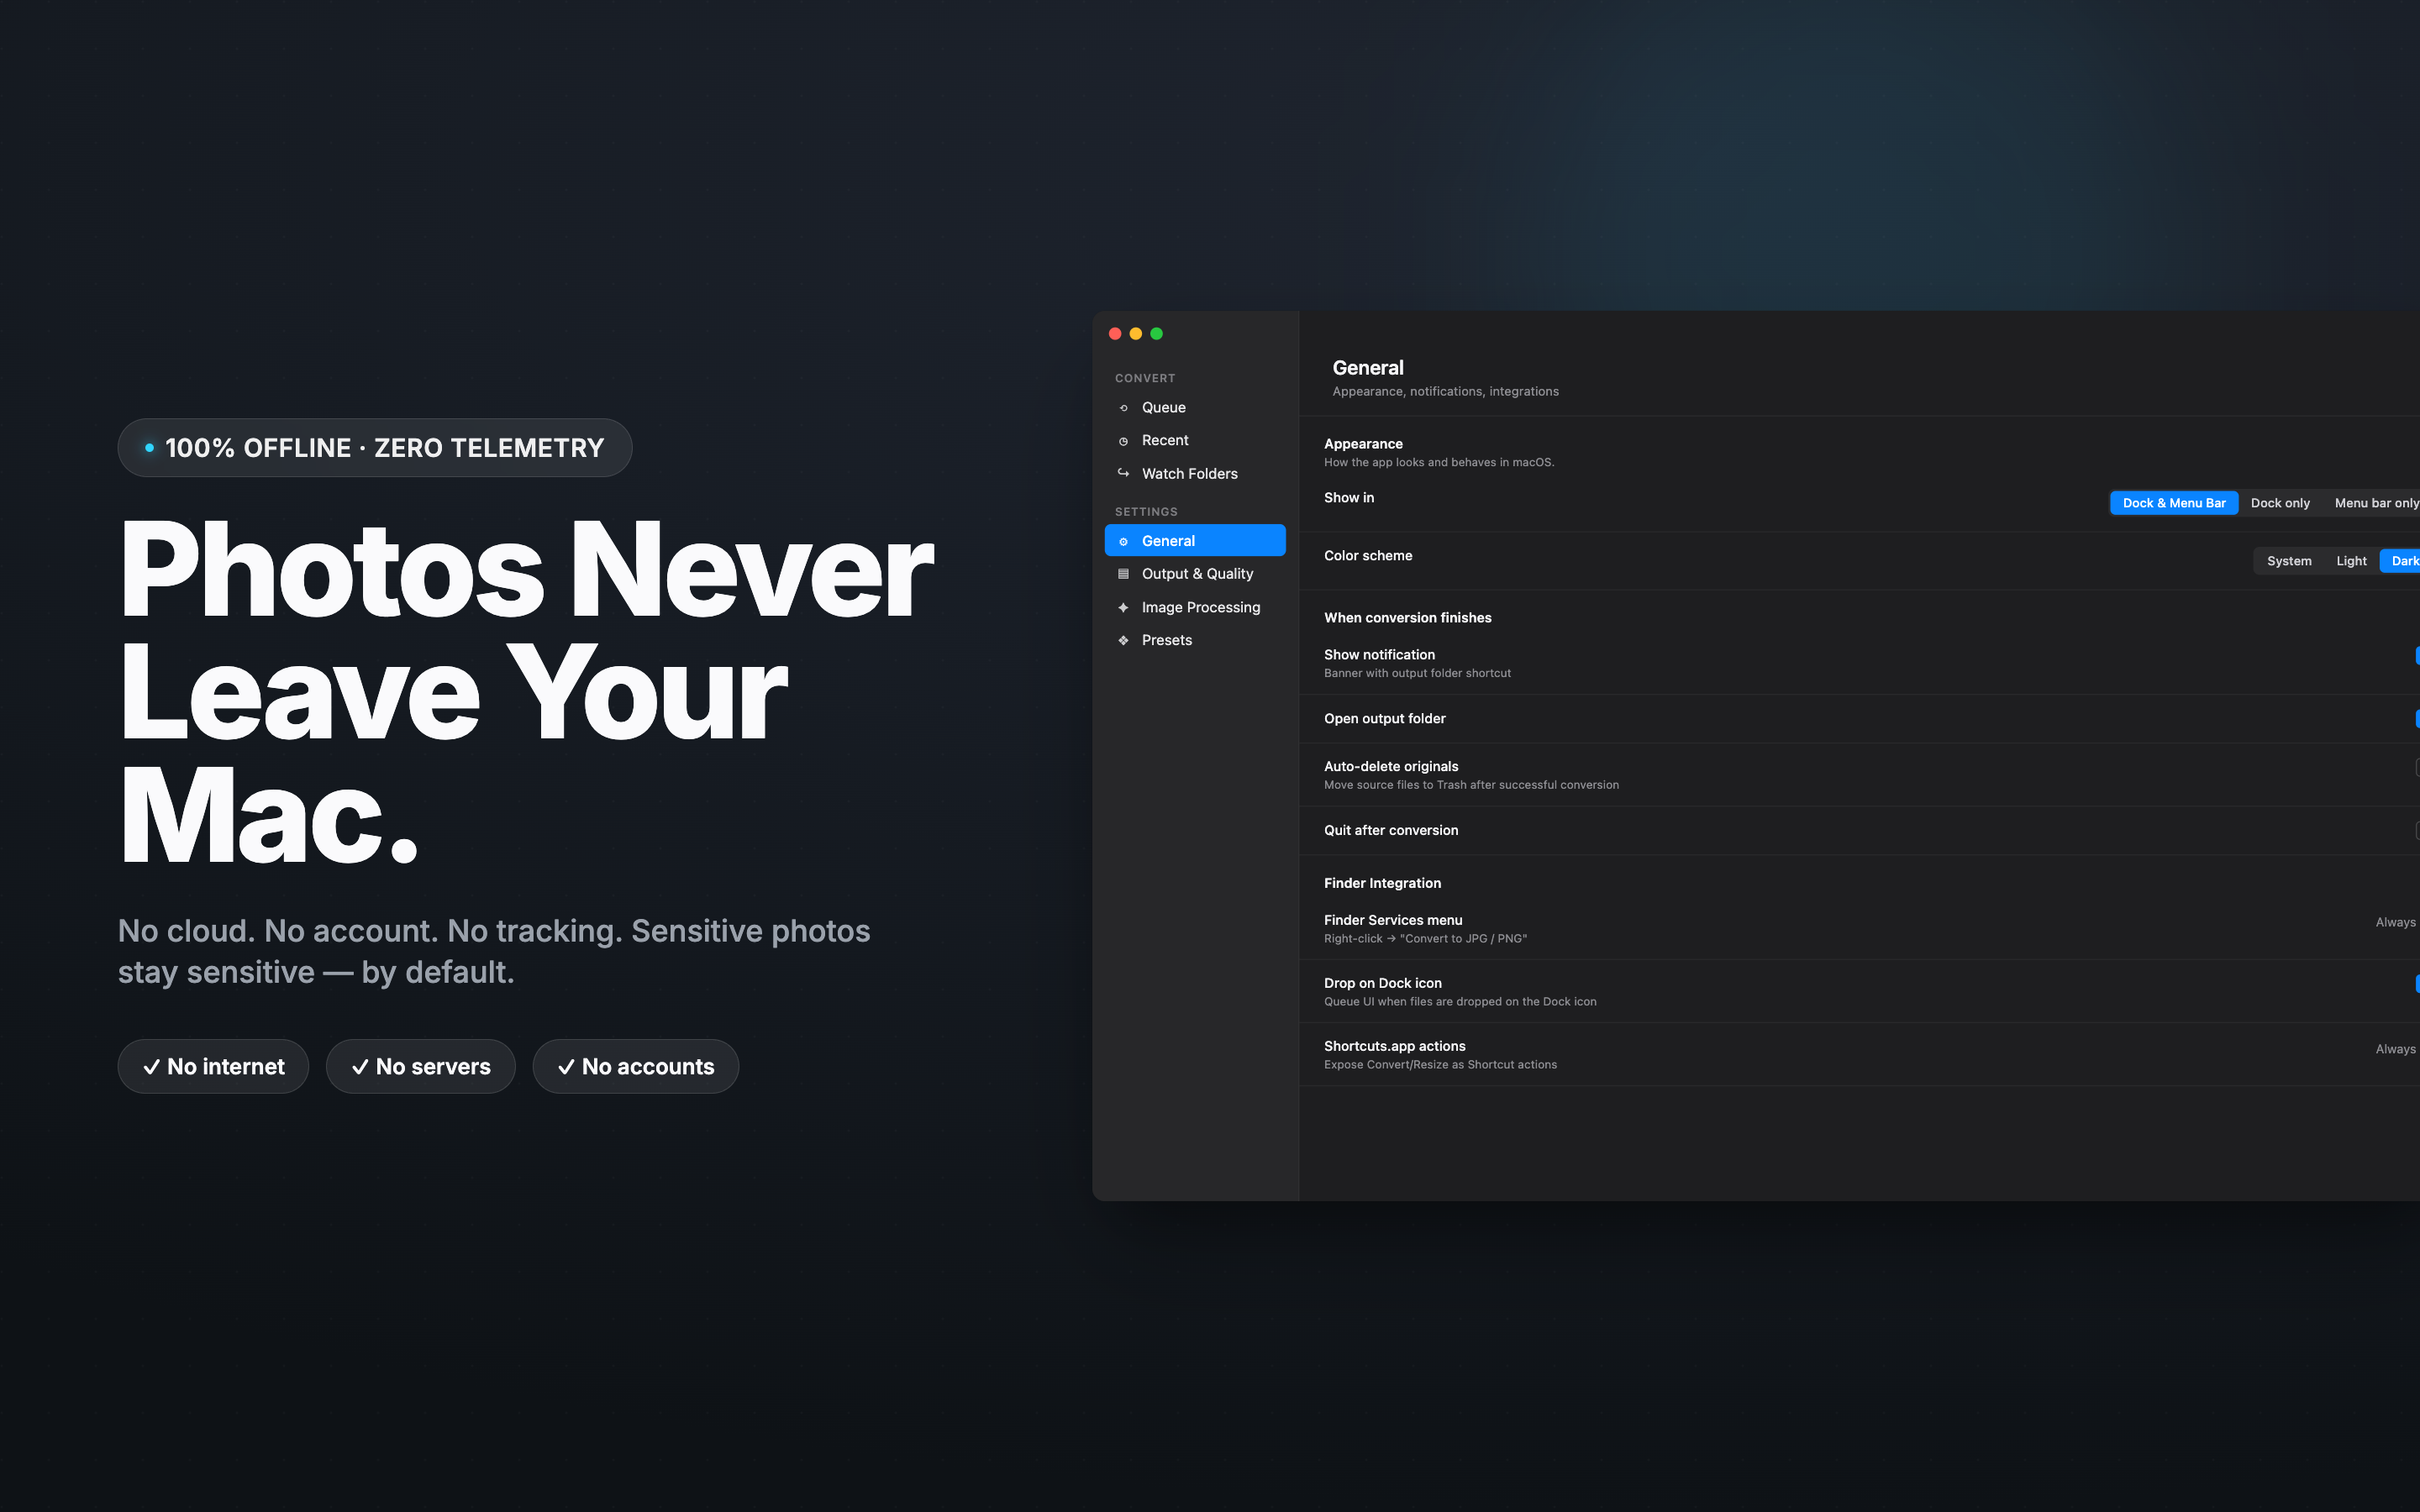
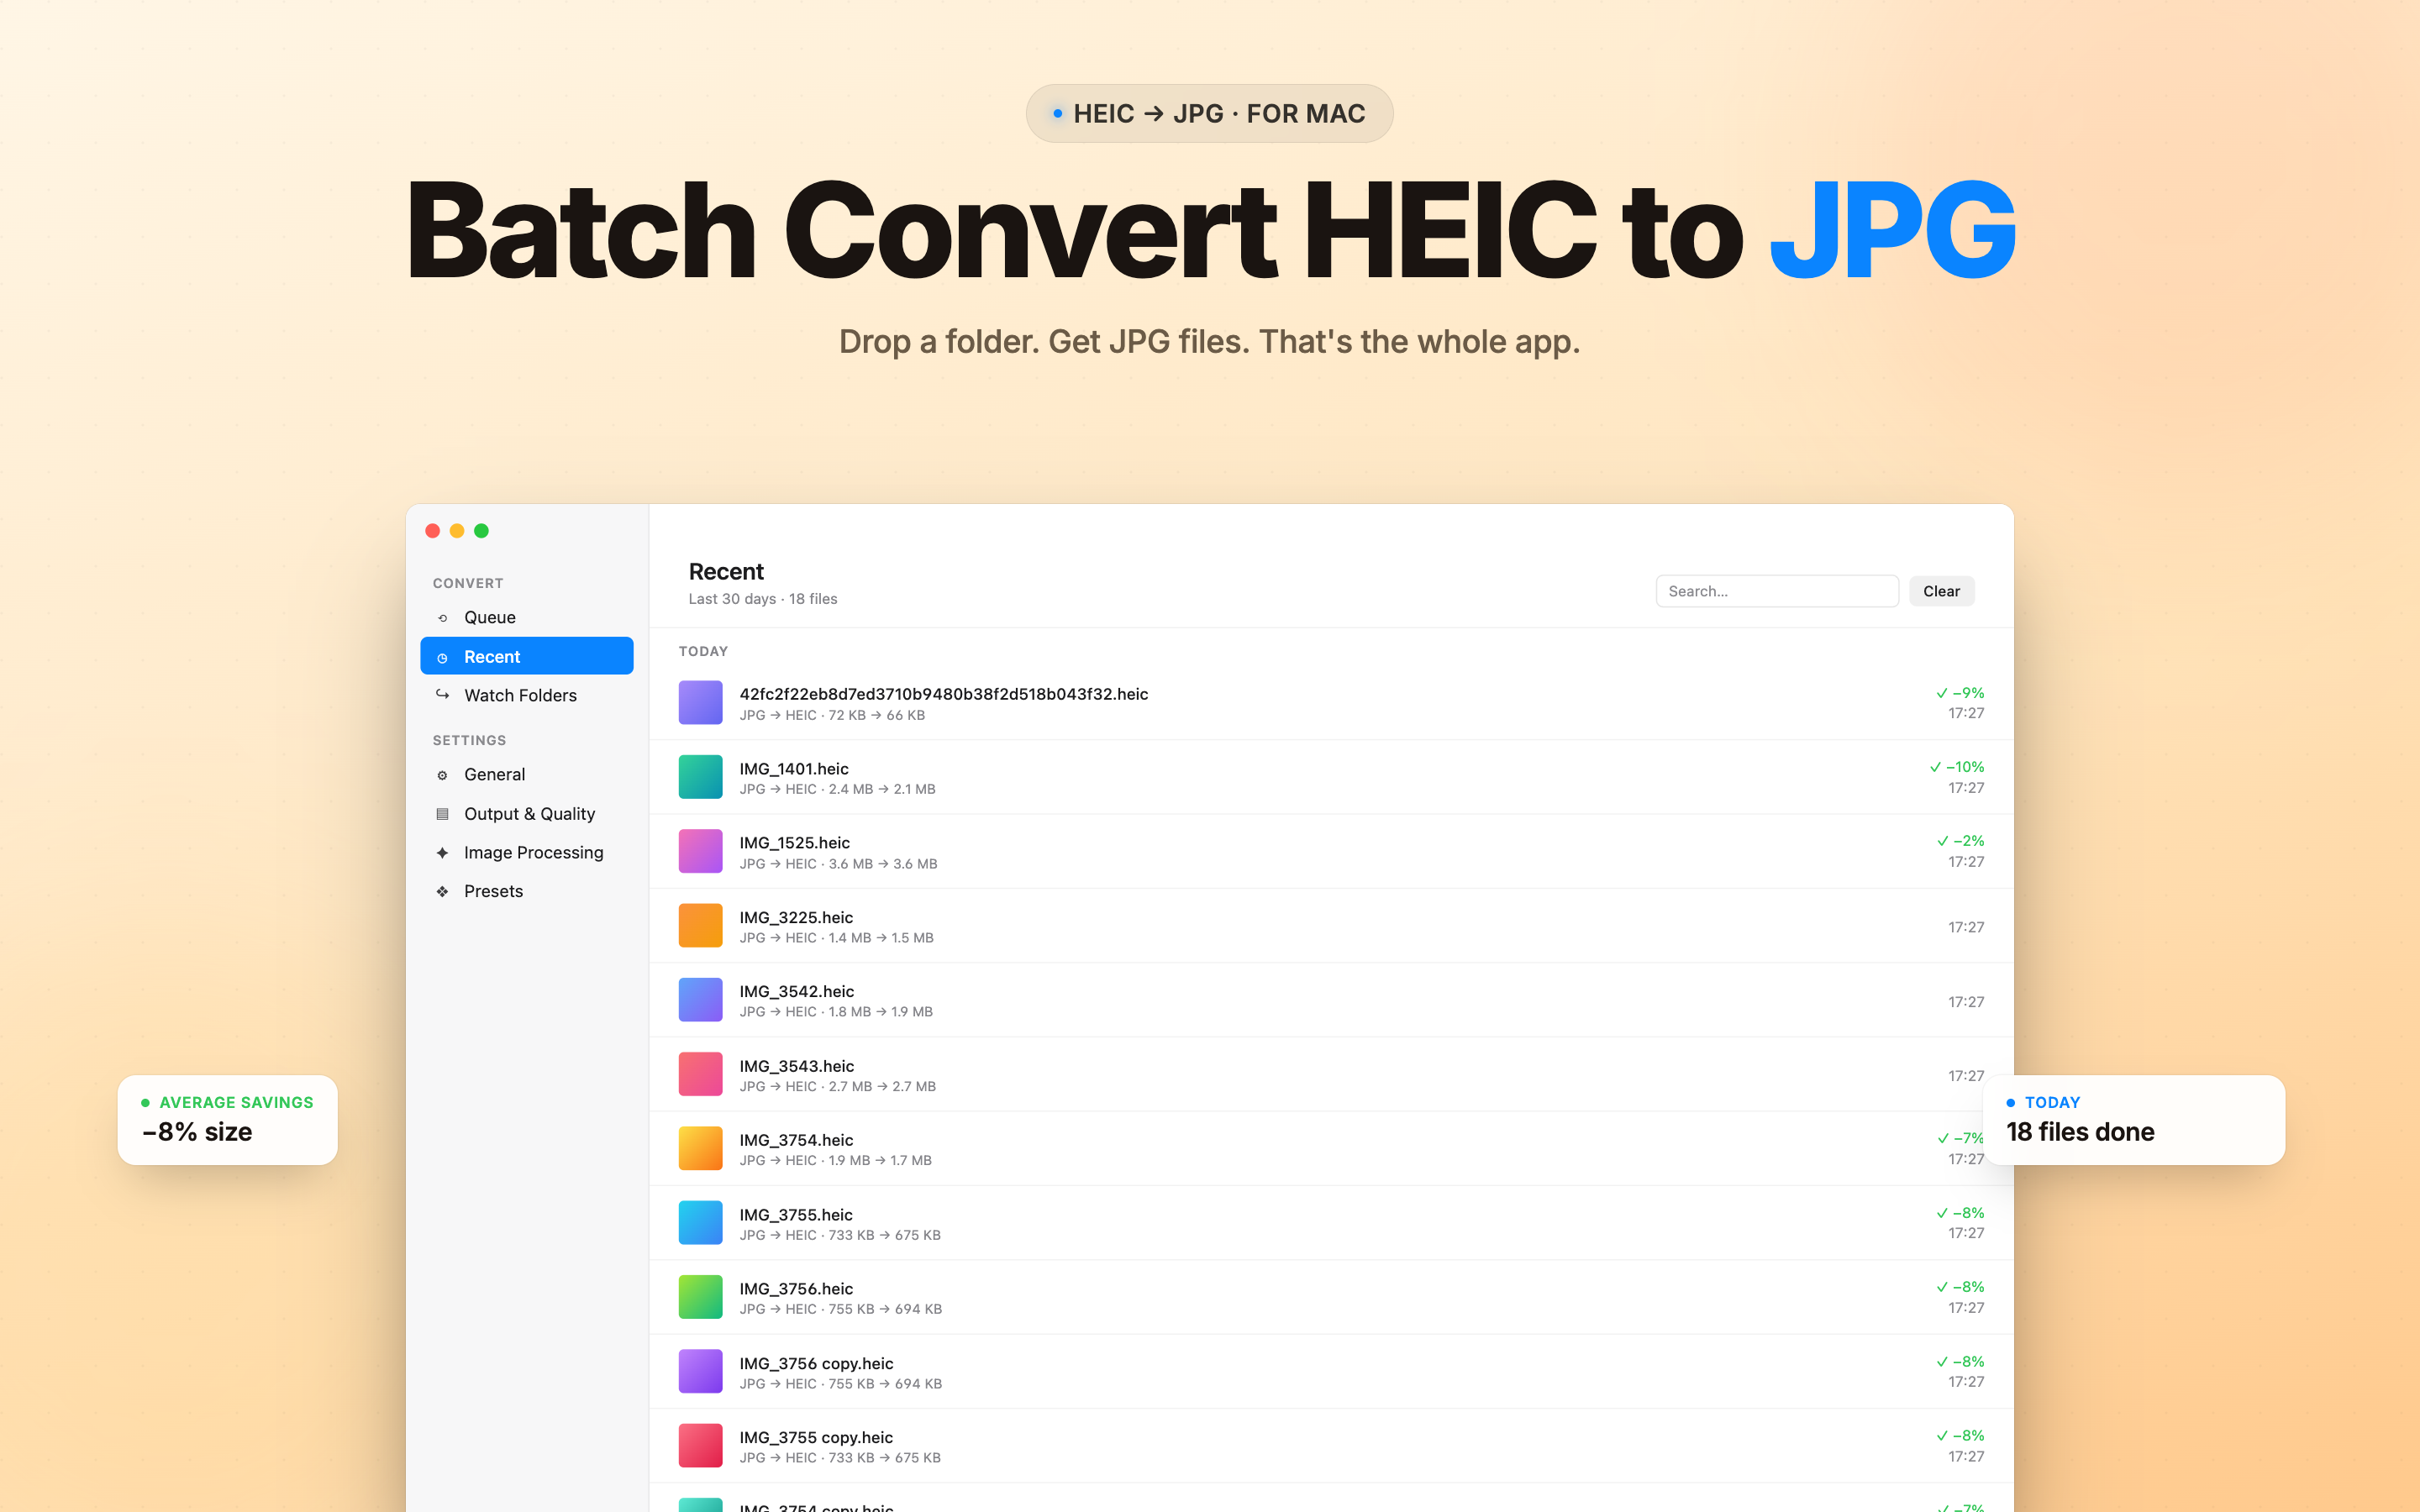
For anything you care about, a dedicated converter is worth the two minutes. HEIC to JPG Batch Converter takes a whole folder, converts on your Mac rather than uploading anywhere, and keeps EXIF unless you choose otherwise.
The upload point deserves emphasis. Web-based converters mean sending your photographs to a stranger's server - which for holiday snaps is a small thing and for anything personal is not. On-device conversion also happens to be much faster for a folder of four hundred files, because nothing has to travel anywhere.
Stopping the problem at the source
If you convert constantly, consider not producing HEIC in the first place. On the iPhone: Settings → Camera → Formats → Most Compatible. The camera then shoots JPEG directly.
Two things to know before you switch. You lose the roughly 50% storage saving, which on a 128 GB phone full of photos is not nothing. And you lose 10-bit colour depth, which matters for HDR images and not at all for anything else.
There is also a middle path that catches most people out in a good way: AirDrop and Mail already convert automatically when the receiving device cannot handle HEIC. If your only problem is sending photos to one Windows user occasionally, you may not need to change anything - just send them a different way.
A sane default
If you want one setup that does not need thinking about again:
- Leave the camera on High Efficiency, so your library stays half the size.
- Convert in batches, on-device, when someone actually needs JPEGs.
- Keep EXIF on, so dates and camera data survive.
- Strip GPS only for photos going somewhere public.
- Use a real quality number rather than a "good/better/best" dropdown - 85 to 90 is visually indistinguishable from the original and still meaningfully smaller than maximum.
The whole thing takes one pass through a folder. The version that goes wrong takes the same amount of time and costs you the dates on every photo you own.