The studio version of this involves a fixed camera, a calibrated backdrop and flat lighting. At home you get the same result by controlling four things and letting software handle the geometry.
1. Distance
Stand about a metre and a half to two metres from the camera. This is the single most important number and the one people get wrong, because a phone held at arm's length is about 50 cm away.
At 50 cm a wide phone lens enlarges whatever is closest to it - your nose - and compresses what is further away - your ears. The face in the photograph is subtly the wrong shape. It is not something most people notice, and it is exactly what a face-matching system is built to notice.
If you are alone, prop the phone on a shelf with the timer running rather than holding it out.
2. Camera height
Level with your eyes, lens pointing straight ahead. Above eye level angled down puts the eyes too high in the frame and shortens the chin; below eye level photographs the underside of the nose and lifts the eye line out of the band.
A stack of books on a table is a perfectly good tripod.
3. Light
Face a window. Daylight from the front is soft, even, and the right colour. Stand so the window is behind the camera, roughly facing you.
What to avoid:
- Overhead room light alone, which puts shadow into the eye sockets and under the nose and chin.
- Flash, which is hard, causes reflections and throws a shadow onto the wall behind you.
- A window behind you, which silhouettes the face.
- Mixed light - daylight on one side and a warm lamp on the other - which gives the face two colour temperatures.
4. Background and separation
A plain wall, and at least a metre between you and it. The separation is what removes the shadow behind your head, and it does more for the background than any amount of extra light.
The wall colour matters less than people think if you are going to replace the background - what matters is that it is plain, evenly lit, and a different tone from your hair and clothes so the edge of your head is findable.
Yourself
- Glasses off, a few minutes early so the marks on your nose fade.
- Hair clear of the eyes and eyebrows, and off the face at the sides.
- Neutral expression, mouth closed, eyes open normally - relax, let the face settle, then shoot.
- Shoulders square, head straight, chin level.
- Everyday clothing in a colour that contrasts with the background. No uniform, no hat.
- Turn off any beautification in the camera app. Retouching is refused nearly everywhere.
Framing
Frame wider than the final crop - head and shoulders with room around them. You can always crop in; you cannot add pixels back. A photo framed tightly in the viewfinder leaves nothing to adjust when the head height turns out to be two millimetres over.
Use the rear camera, not the front one. It is the better camera on every phone by a significant margin.
Then measure
Everything above is about producing a good photograph. Turning it into a valid document photo is arithmetic - head height inside the band, eye line inside its strip, correct print size, correct pixel size, right background colour, file within the portal's weight window.
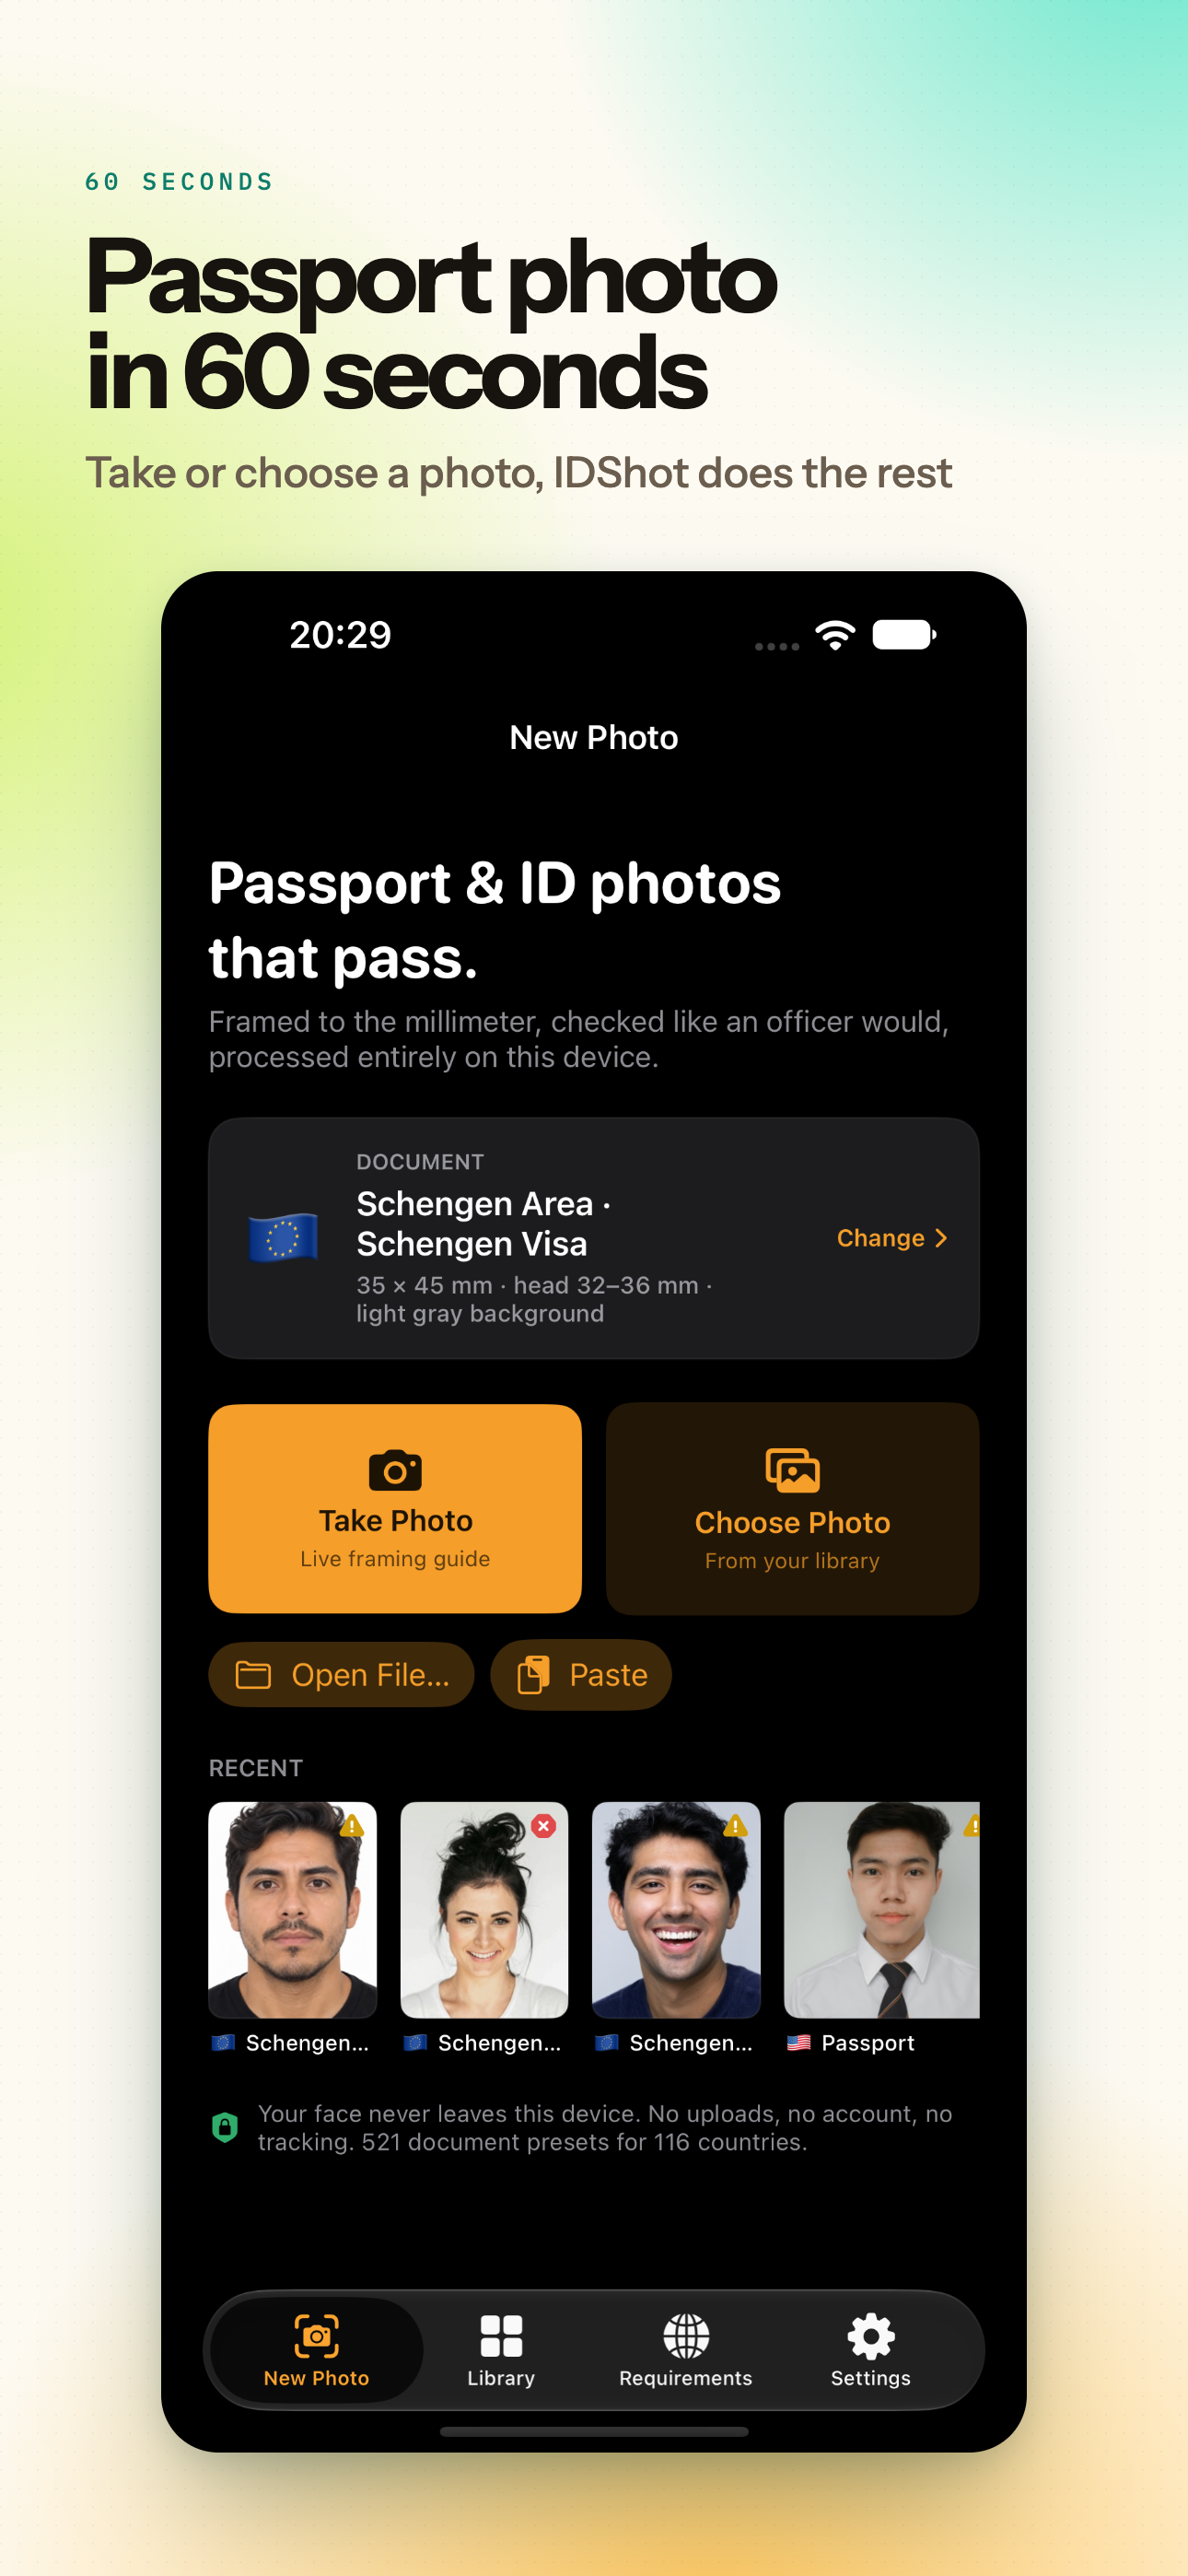
IDShot does that part: pick the document, let the camera guide the framing and fire when it is right, then let auto-crop place the head and check the result against the authority's rules before you export.