Watch almost any software tutorial and you will hit the same moment. The presenter says "and then we just do this", something happens on screen, and you rewind twice trying to work out which keys were involved. The information was never in the video. It was in their hands.
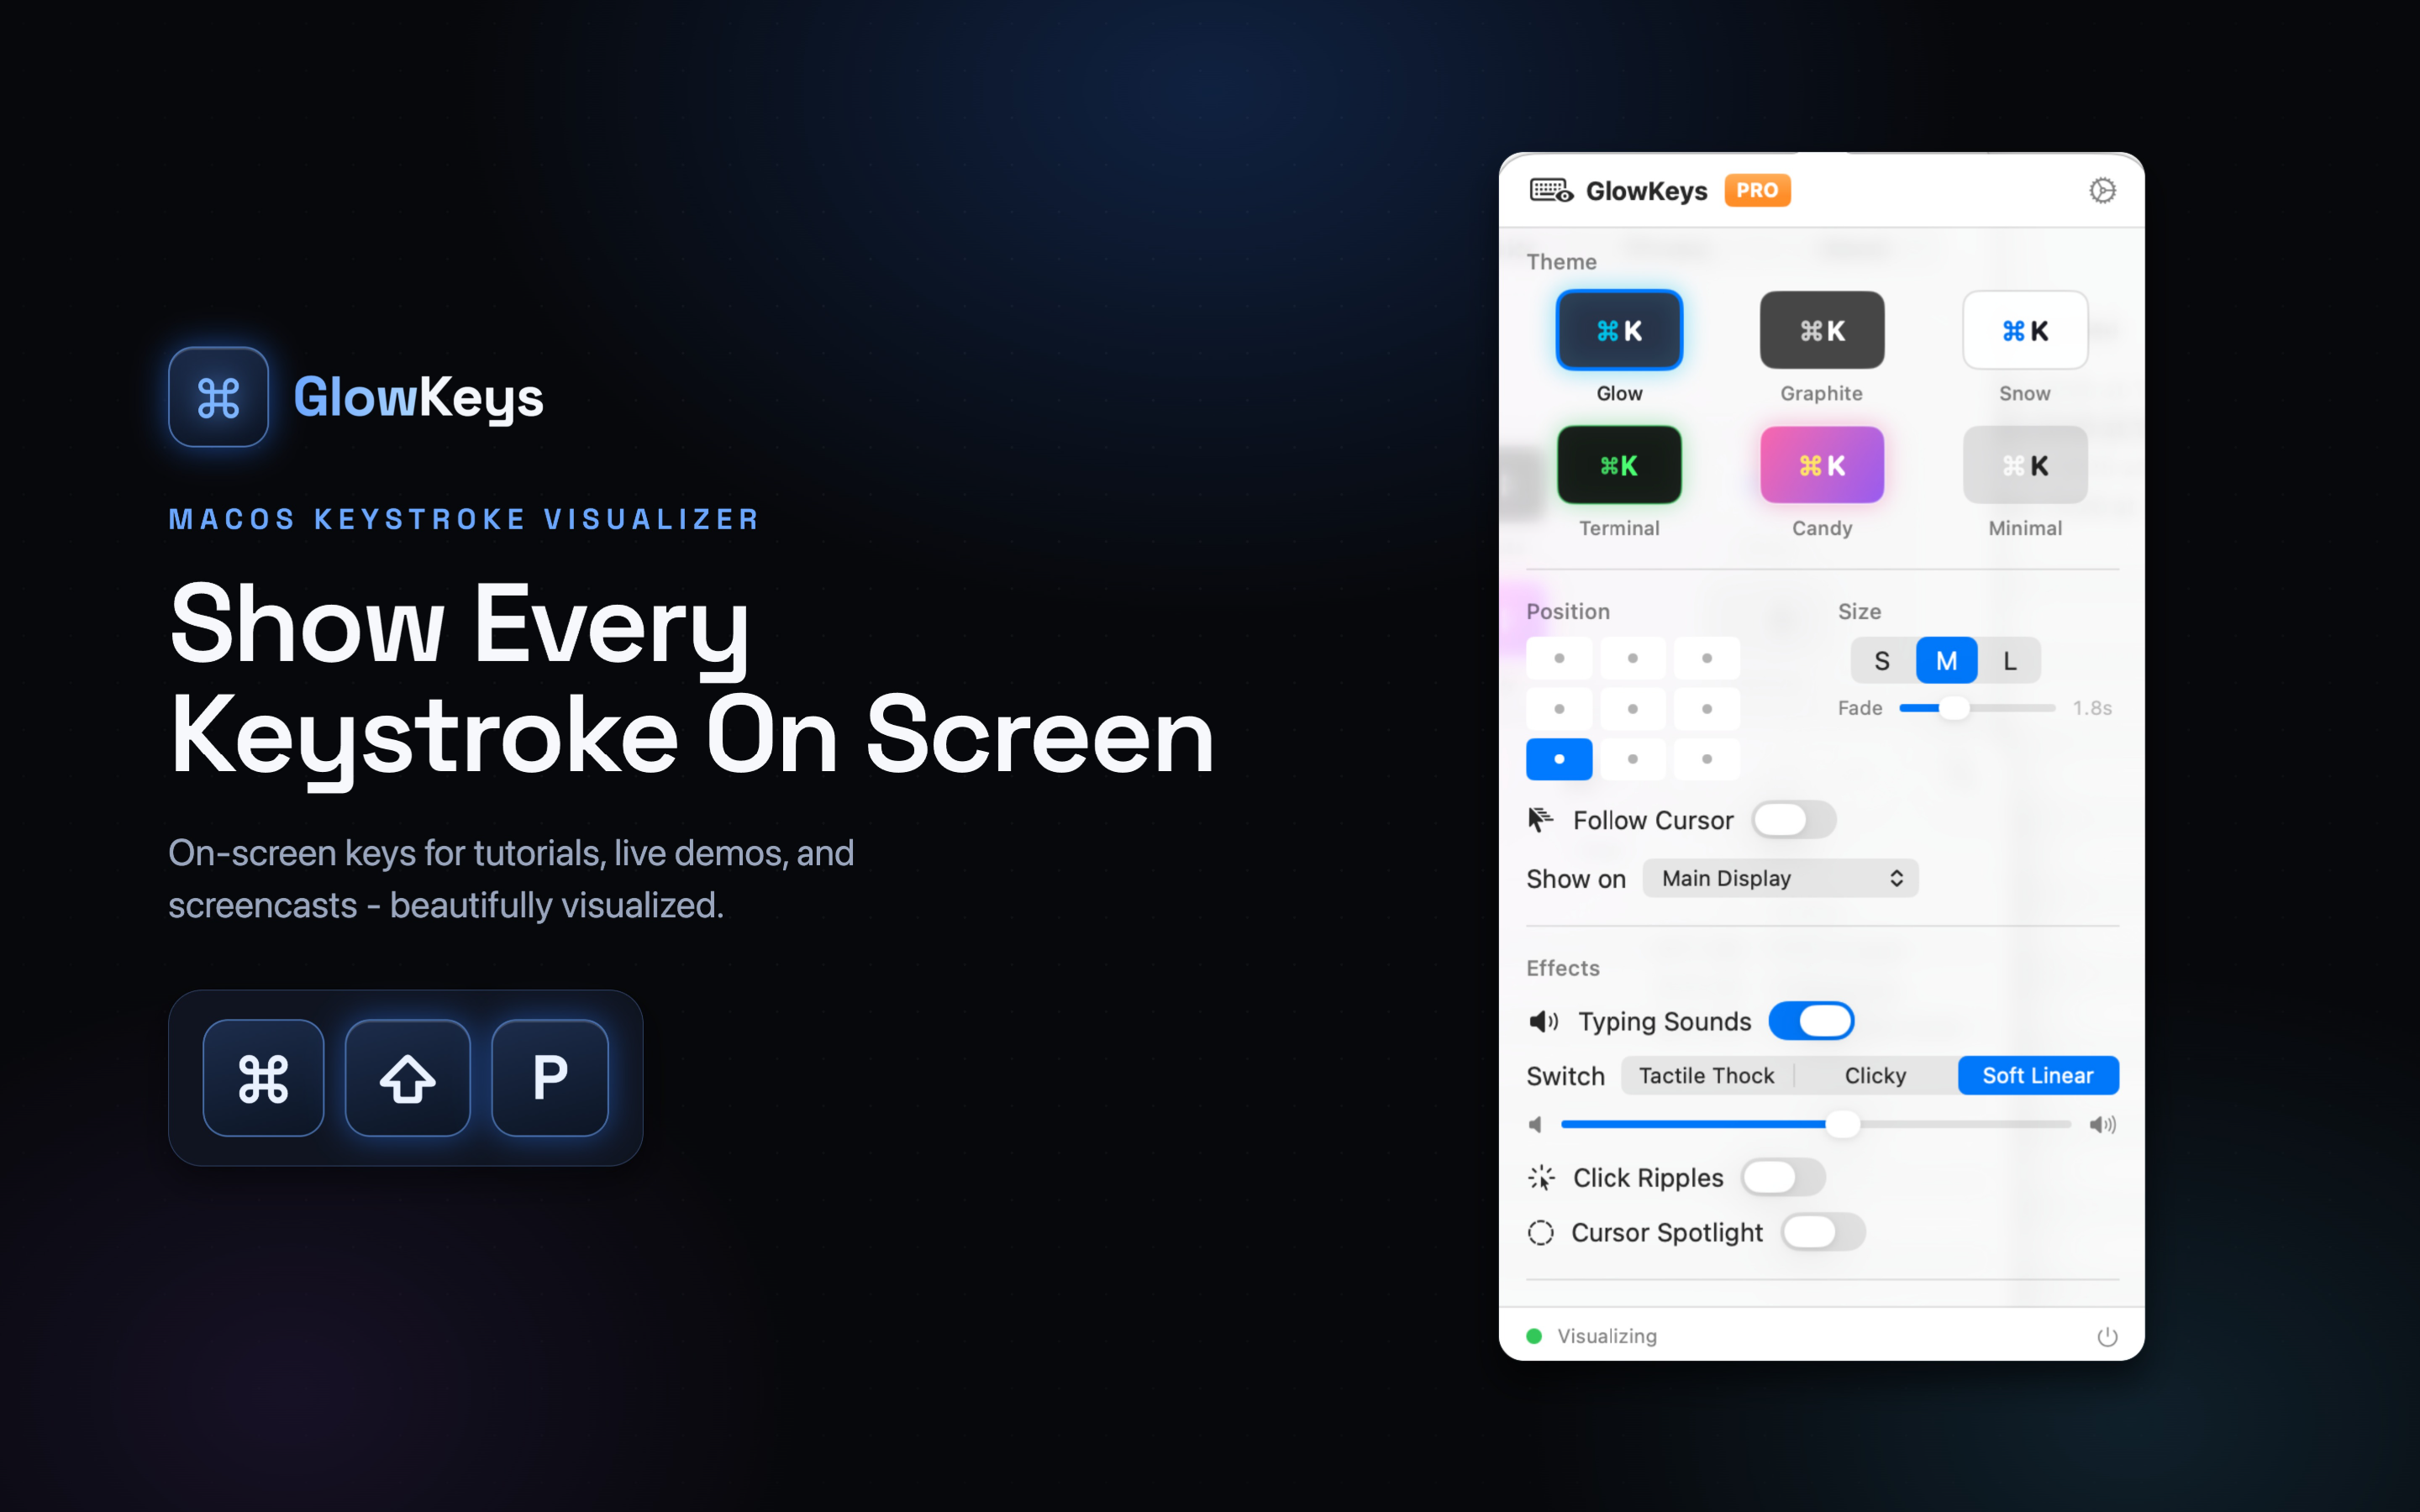
This is a solved problem, and the solution is small: draw each key press on screen as it happens. Viewers stop guessing, you stop narrating every shortcut, and the recording works even with the sound off.
Why narration is not enough
The obvious fix is to say the shortcut out loud. It works, but it costs more than people expect.
- It slows you down. Saying "Command, Shift, four" takes about two seconds. Do that forty times in a course and you have added several minutes of nothing.
- It breaks on translation. Subtitled and dubbed versions garble key names constantly, because "Command" is a symbol, not a word.
- It fails silently. Plenty of people watch tutorials muted, on a train or in an office. For them the shortcut simply does not exist.
- You forget. Ten minutes into a take, you stop announcing them. It is always the fast, habitual shortcuts that get skipped, and those are the ones worth teaching.
An on-screen overlay has none of those failure modes. It fires every time, needs no translation, and works with the audio off.
Granting the permission macOS requires
Before any app can see your keyboard, macOS makes you approve it explicitly. This is Input Monitoring, and it lives in System Settings under Privacy & Security. Until you grant it, the system does not deliver key events to the app at all, so the overlay stays blank no matter what you press.
Two things trip people up here. First, the permission only takes effect on a fresh launch, so quit and reopen the app after you enable it. Second, if the app was already in the list from an earlier version, toggling it off and back on again is often what actually fixes an overlay that refuses to appear.
This is also worth understanding rather than clicking past. An app with Input Monitoring can observe what you type. That makes it fair to ask what the app does with it. GlowKeys draws each key and discards it - nothing is written to disk, kept in a history, or sent anywhere - and it needs no network access at all.
Show shortcuts, not every letter
The first instinct is to display everything. Do not. A tutorial where you type a file path and the overlay spells out forty individual characters is worse than no overlay, because the useful moments get buried in noise.
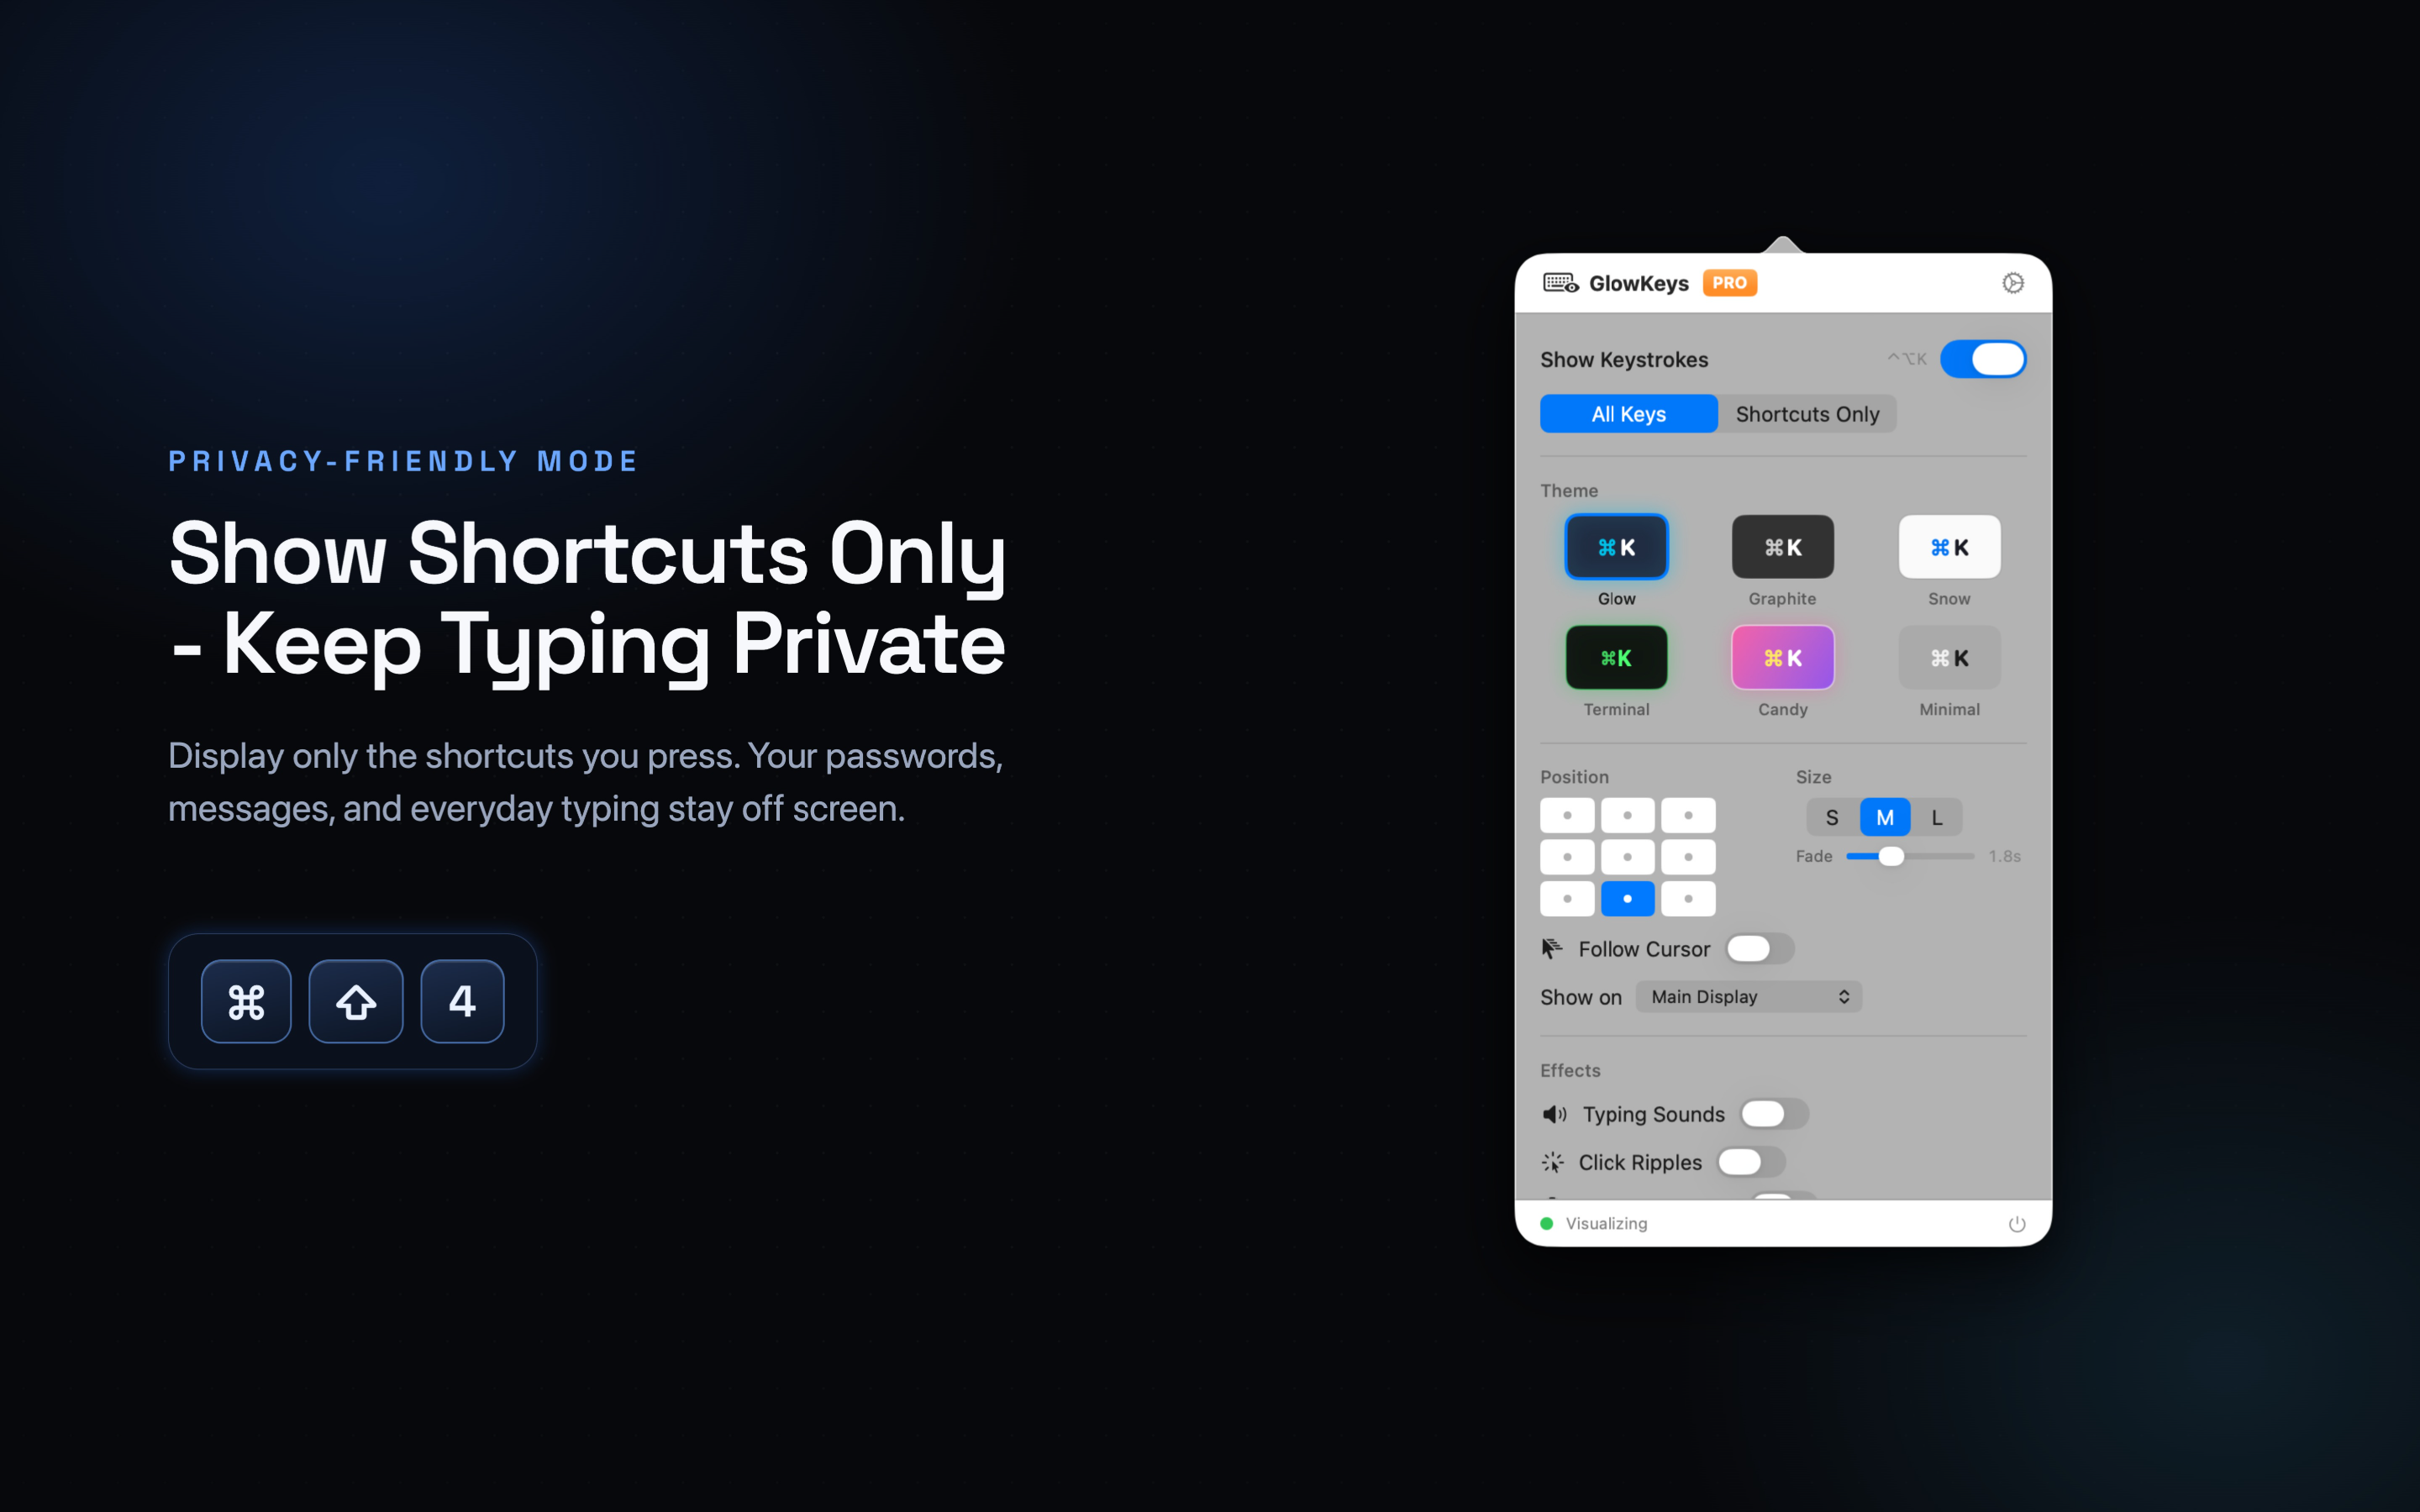
Shortcuts-only mode is the setting that makes this practical. It ignores plain typing and shows only combinations that involve a modifier - Command-S, Control-Option-Right Arrow, Shift-Command-P. Those are the things a viewer needs to reproduce. Ordinary text is already visible: it is appearing in the document.
Turn full keystroke display on for the specific case where the typing itself is the lesson, such as a demonstration of a vim workflow or a shortcut chord that starts with a plain letter.
Placement, contrast, and the scaling problem
Most overlays default to a fixed corner. That is fine for a full-screen recording watched at full size, and poor for everything else. Two adjustments help.
Follow the cursor. Anchoring the overlay to your pointer keeps the keys next to whatever you are pointing at. In a cropped or zoomed recording, a corner overlay often ends up cropped out entirely.
Pick contrast deliberately. A neon theme reads well over a dark editor and disappears over a bright document. Check the theme against the app you are actually demonstrating, not against your desktop wallpaper.
Then there is the mistake almost everyone makes once: judging the overlay on a Retina display. Your recording is 2880 pixels wide, and half your audience watches it at 720p in a small embedded player. Text that looks crisp while you record can be illegible after scaling. Record ten seconds, export at the resolution you will publish, and watch it at the size viewers will actually see. Fix the size now, not after you have recorded eight lessons.
Clicks are not keystrokes
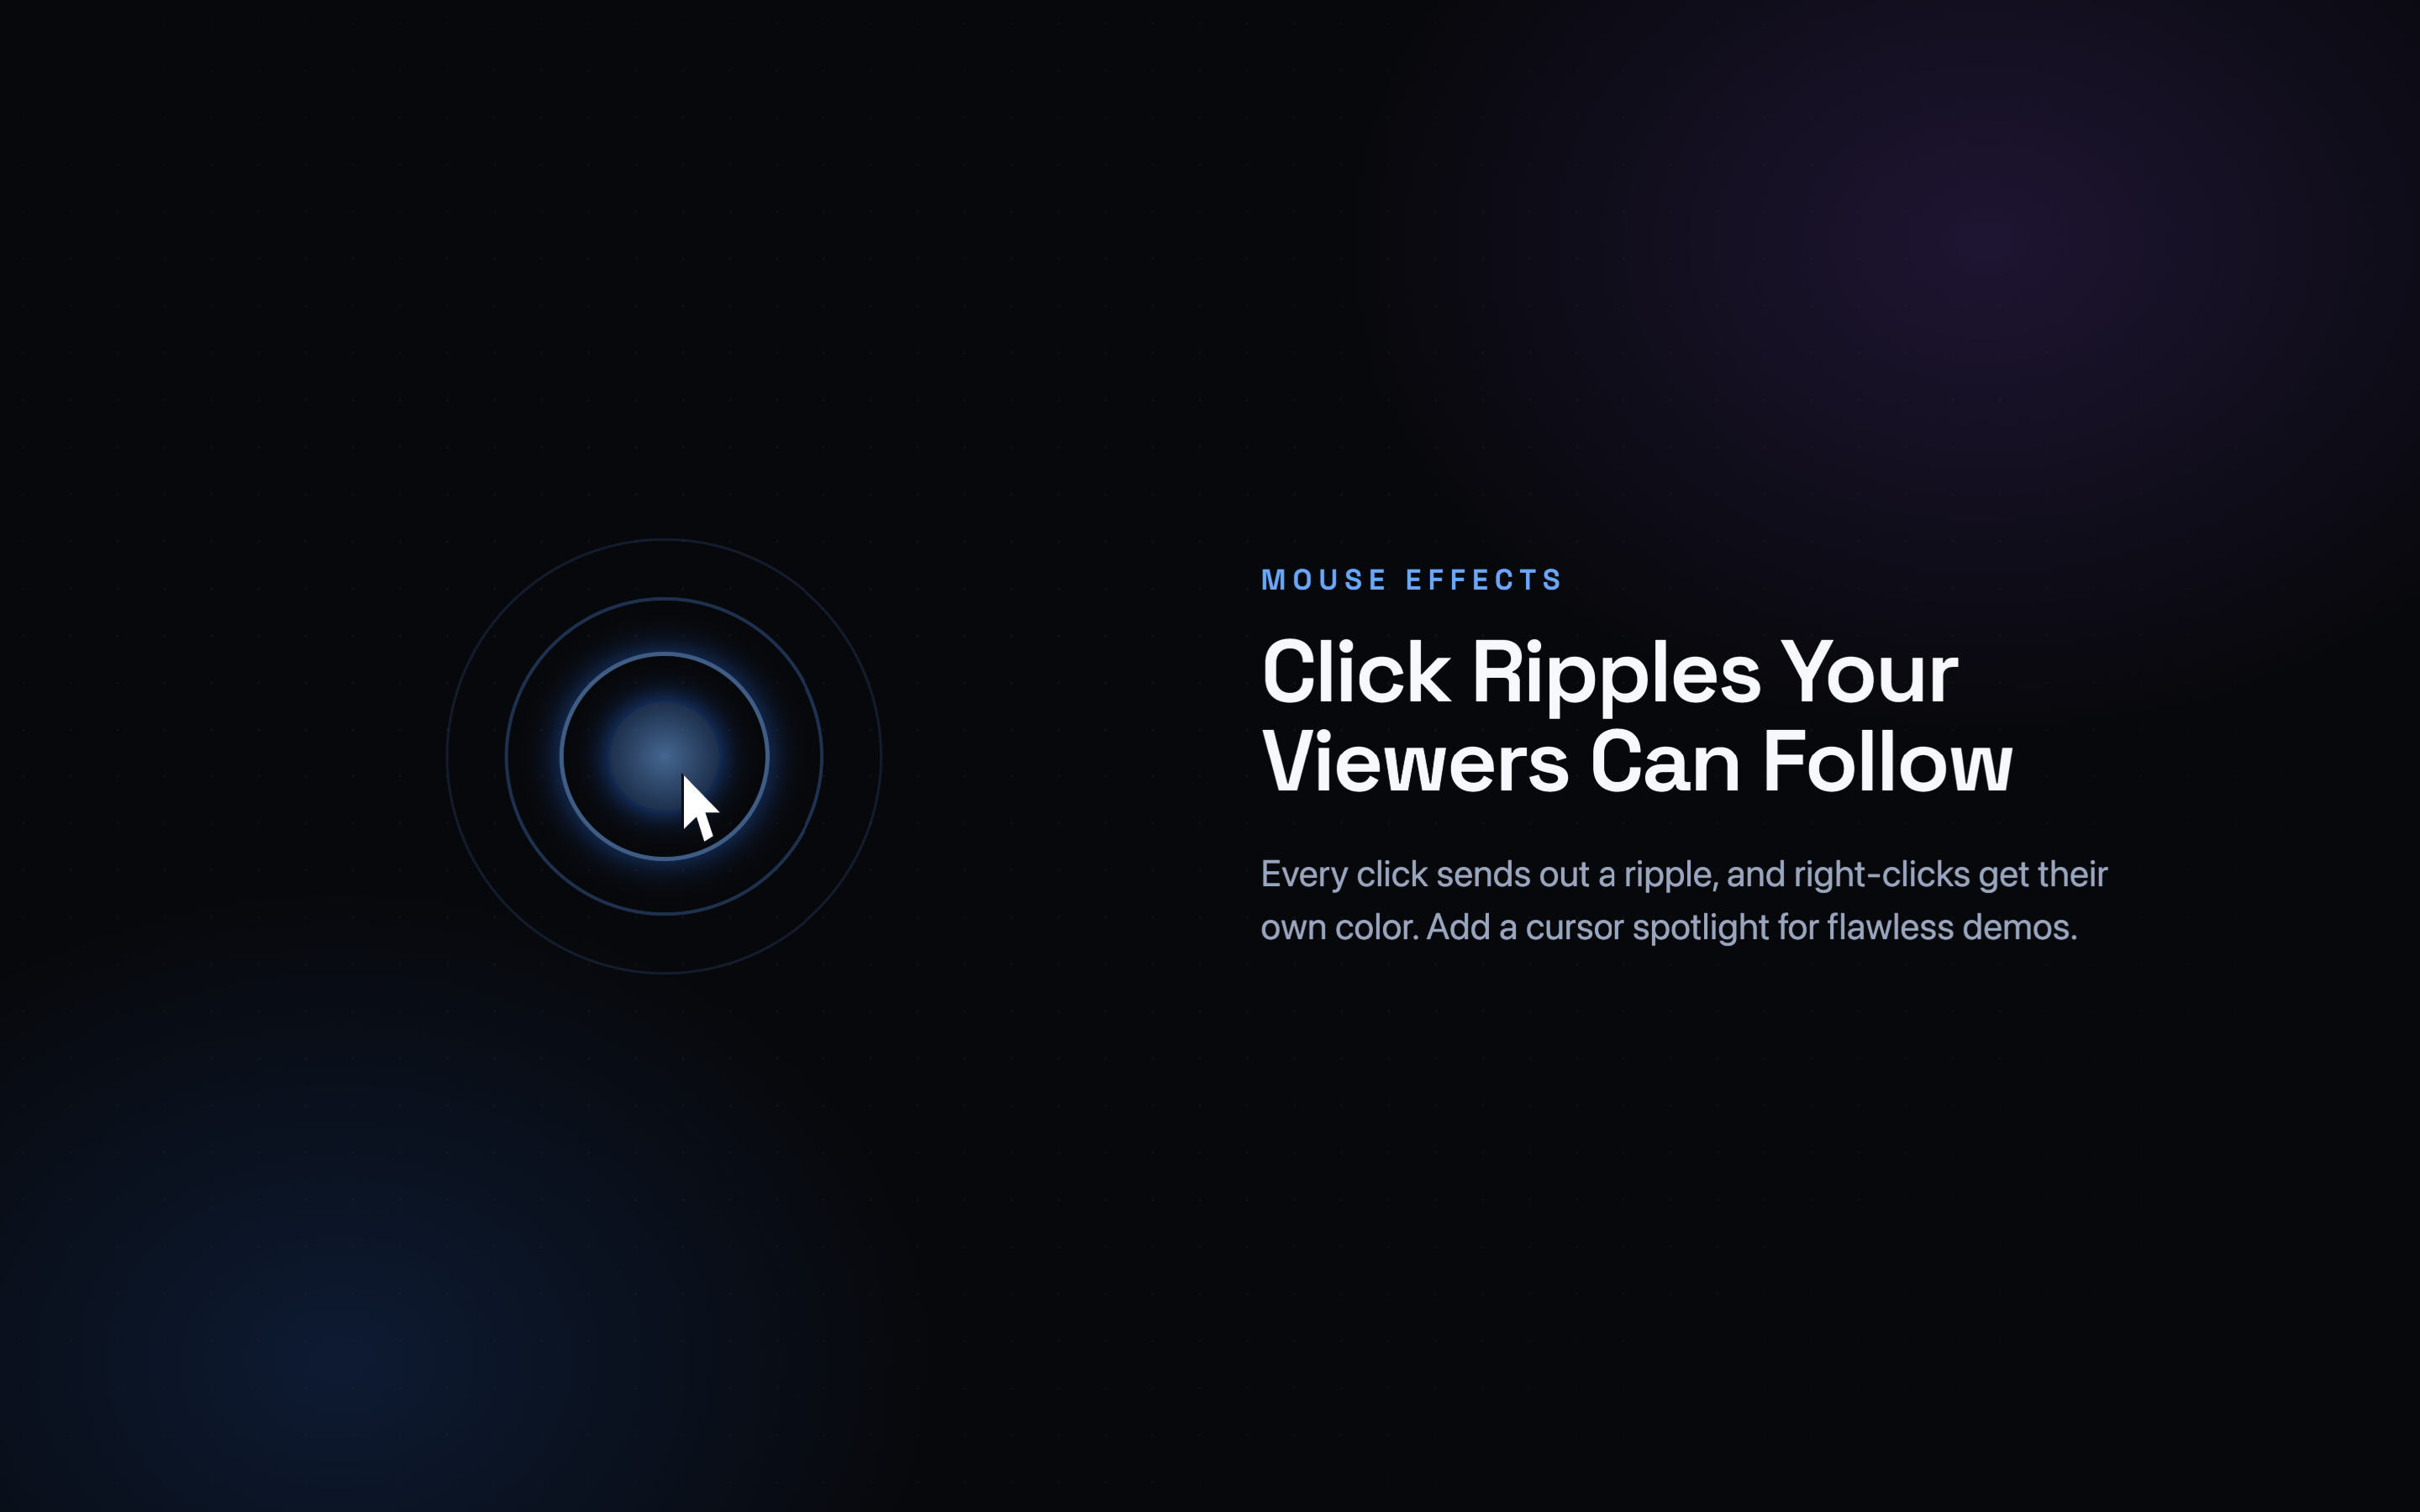
Half of any interface tutorial is clicking, and a keystroke overlay says nothing about that. If your steps mix "press this" with "click here", turn on click ripples - a brief highlight where the pointer was pressed. Without it, viewers see the interface change with no visible cause and assume they missed a shortcut.
Recording, streaming, and calls
Because the overlay draws into the normal window layer, anything that captures your display captures it too. That covers QuickTime screen recording, ScreenFlow, OBS display capture, and screen sharing on a video call. There is no separate export step and no compositing to set up.
It also floats above fullscreen apps and across Spaces, which matters more than it sounds. Keynote, Xcode, and Final Cut are usually presented fullscreen, and an overlay that vanishes the moment you go fullscreen is an overlay you will stop using.
The one habit worth building
Stop the overlay before you type anything private. macOS switches on secure input for password fields, which blocks keyboard observation system-wide, so passwords typed into a proper password field are not exposed. But that protection does not extend to a search box you paste a licence key into, or a terminal where you type a token by hand.
Bind stopping the overlay to a menu bar click and use it. It takes a second, and it is the difference between publishing a tutorial and publishing a credential.
A working setup
If you want the short version, this is the configuration that survives contact with a real course:
- Grant Input Monitoring, then quit and reopen the app.
- Turn on shortcuts-only mode so typing does not flood the screen.
- Enable follow-cursor and click ripples.
- Pick a theme that contrasts with the app you are recording, not with your desktop.
- Record a ten-second test, export at publishing resolution, and check the overlay is readable.
- Stop the overlay from the menu bar any time you type something you would not publish.
Set that up once and every clip you record afterwards explains its own keyboard steps, in every language, with the sound off.