The order below is the one professional decorators use, and it is the same whether the tree is real, artificial or on a screen. Each step is easier when the one before it is finished.
1. Shape the branches
An artificial tree comes out of the box flattened. Spend ten minutes separating the tips of each branch so they point in slightly different directions - some up, some out, some to the side. It is dull, and it makes more difference to the finished tree than any ornament. A real tree needs a day in its stand for the branches to drop and settle.
2. Lights first
Lights go on before anything else, because everything else is hung around them. Put them on last and the wires lie across the ornaments.
How many? A common rule of thumb is around 100 small lights for every foot (30 cm) of tree height - so 600 or so for a six-foot tree - and more if you like a bright tree. It sounds like a lot until you see a tree with half that.
Weave, do not wrap. Rather than spiralling the string round the outside, work branch by branch: run the lights from near the trunk out to the tip and back again. Lights deeper in the tree make it glow from inside; lights only on the surface make it look wrapped.
Start at the bottom near the plug and work upwards, so you never run out of cable at the wrong end.
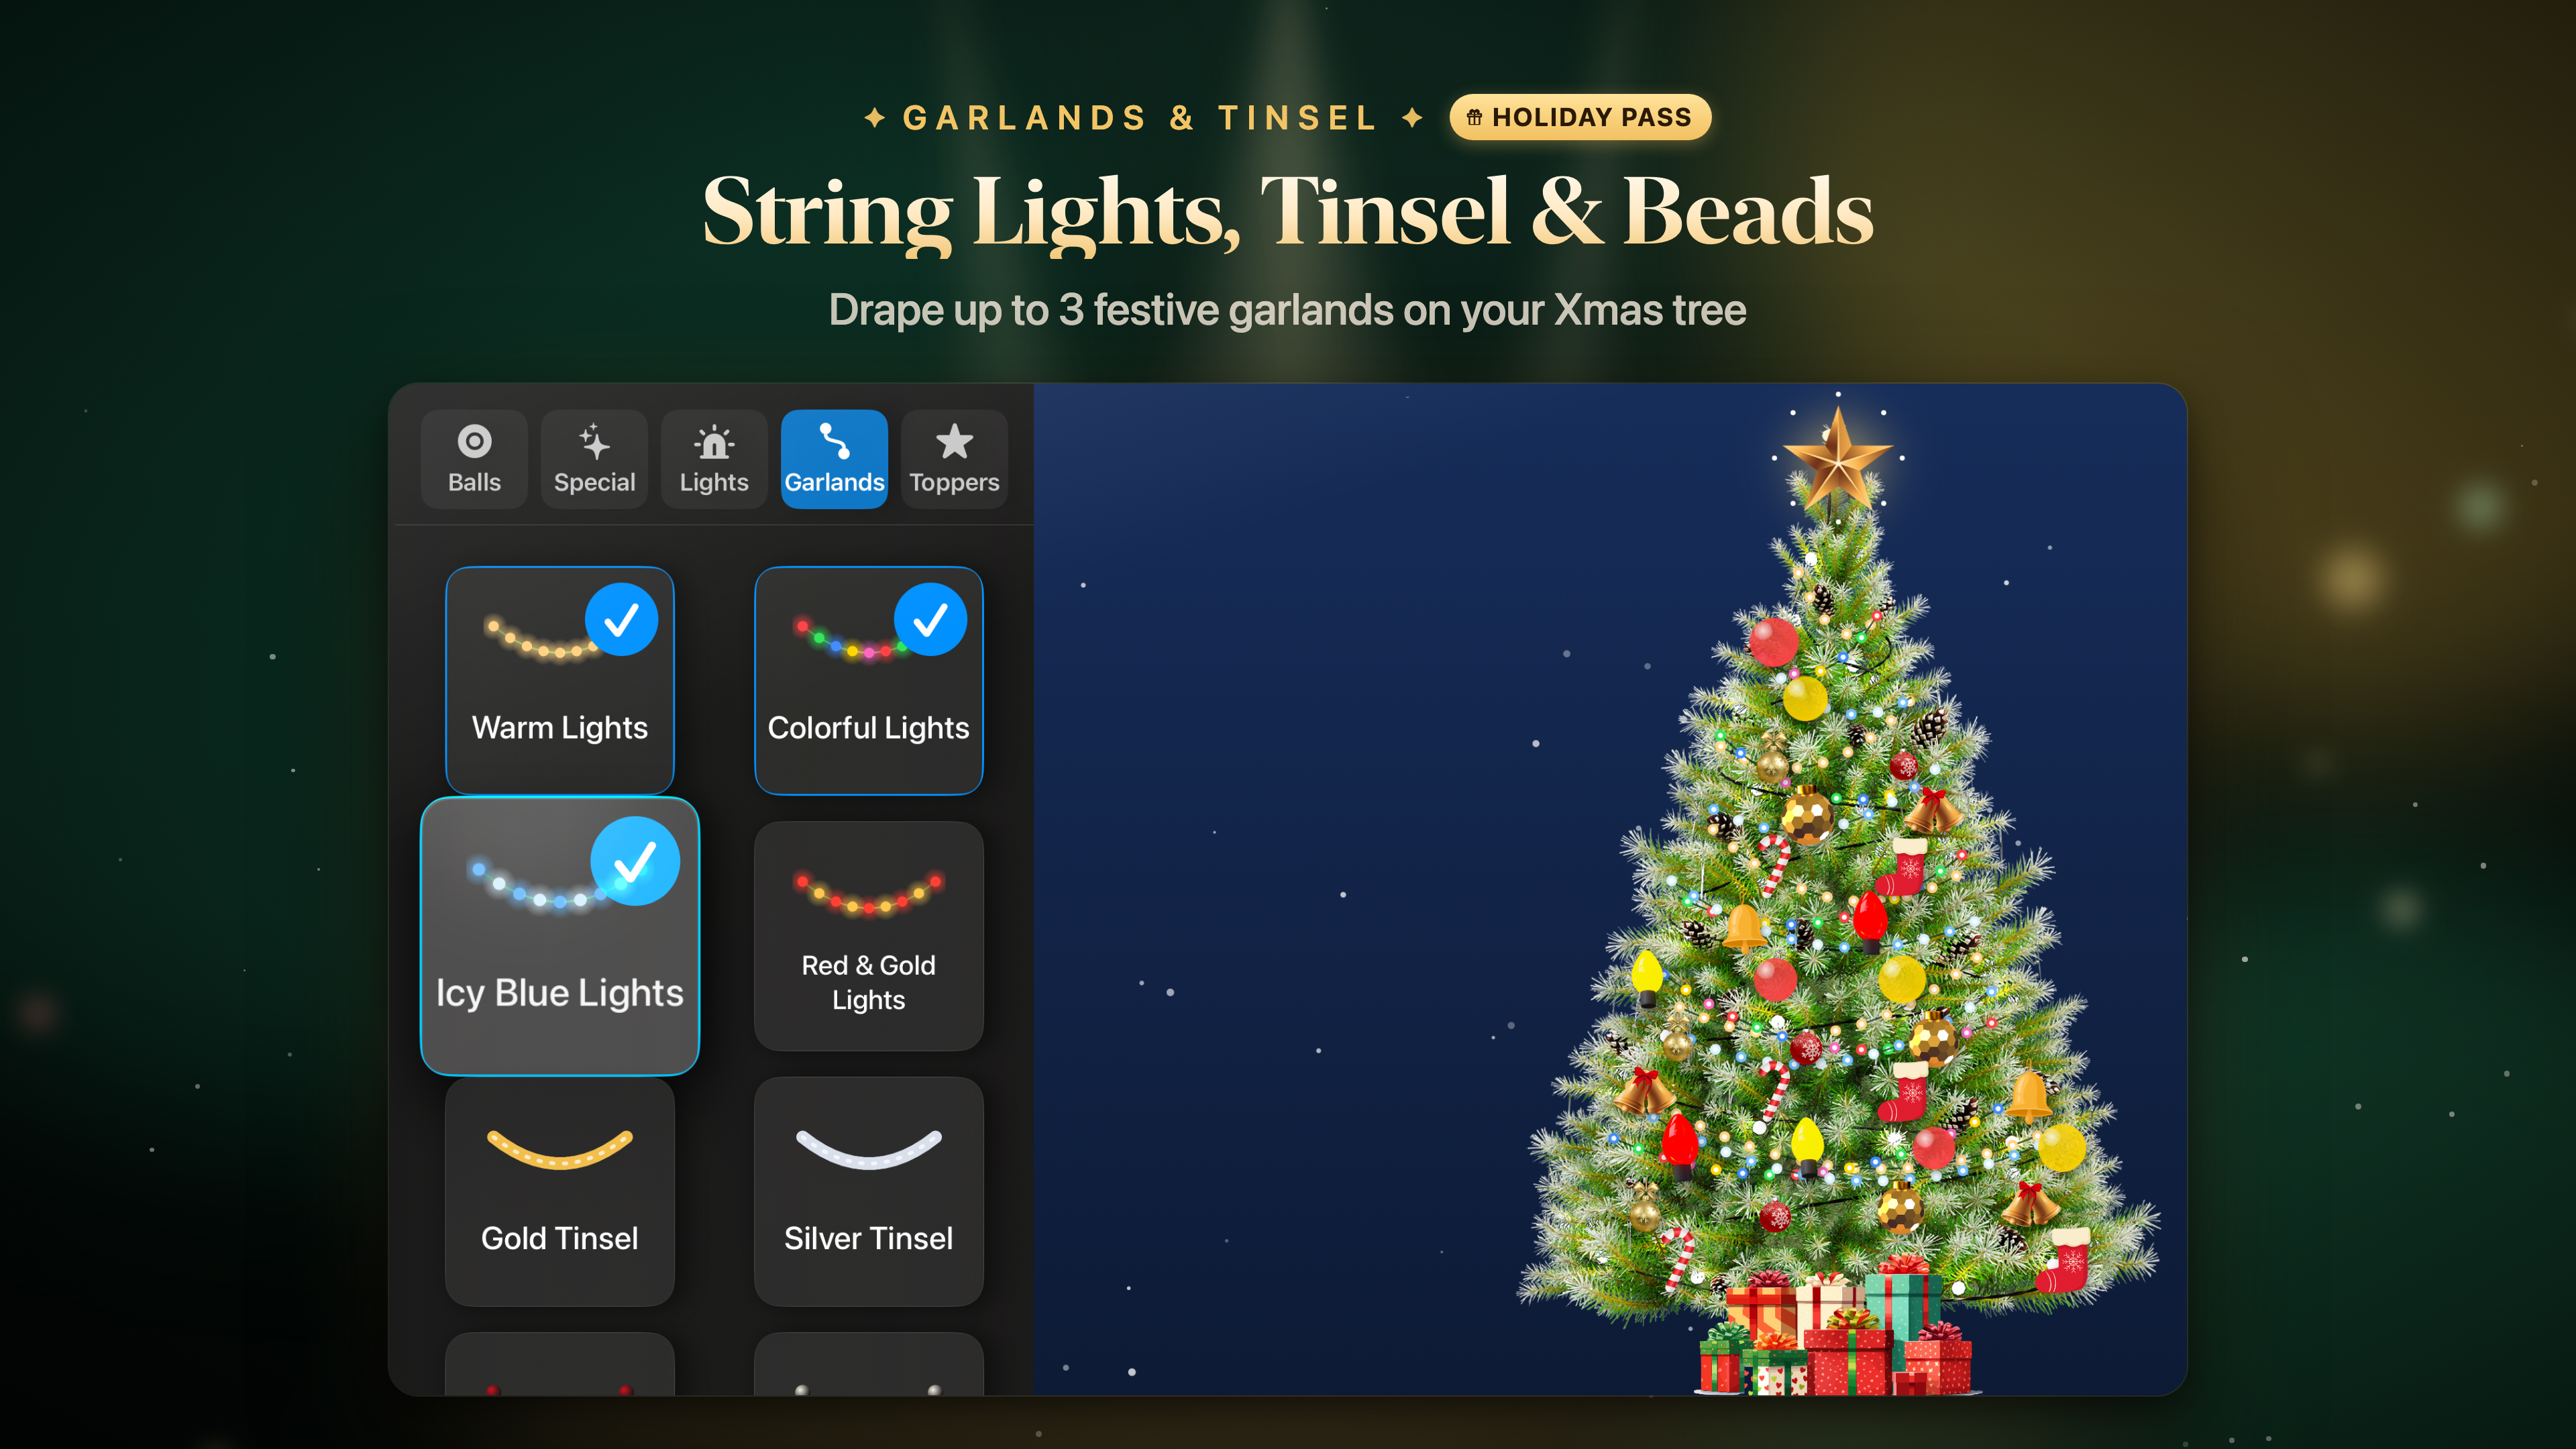
3. Garlands and tinsel
Next come the things that run across the tree: bead garlands, tinsel, ribbon. Drape them in loose swoops between branches rather than tight lines. Two or three kinds are plenty, and they look best when they are spaced evenly from top to bottom.
4. Ornaments, largest first
Hang the biggest ornaments first and spread them evenly over the whole tree, including the back if it can be seen. Then the medium ones in the gaps, then the small ones last.
- Push some deeper. Hanging a few ornaments close to the trunk, rather than all on the tips, gives the tree depth. Shiny baubles deep inside catch the light from the strings around them.
- Heavier near the bottom. Lower branches are stronger, and larger ornaments there make the tree look grounded.
- Do not forget the top third. It is the hardest to reach and the part most often left bare. Small ornaments suit it, because the branches are smaller there.
- Fragile ones high, unbreakable ones low. If there are toddlers or pets in the house.
5. The topper, last
The star or angel goes on at the very end, when the tree is finished and you can judge its size against the rest. A topper that is too small looks lost; one too large looks top-heavy. Roughly in proportion to the width of the top third works best.
6. Step back and switch off the room lights
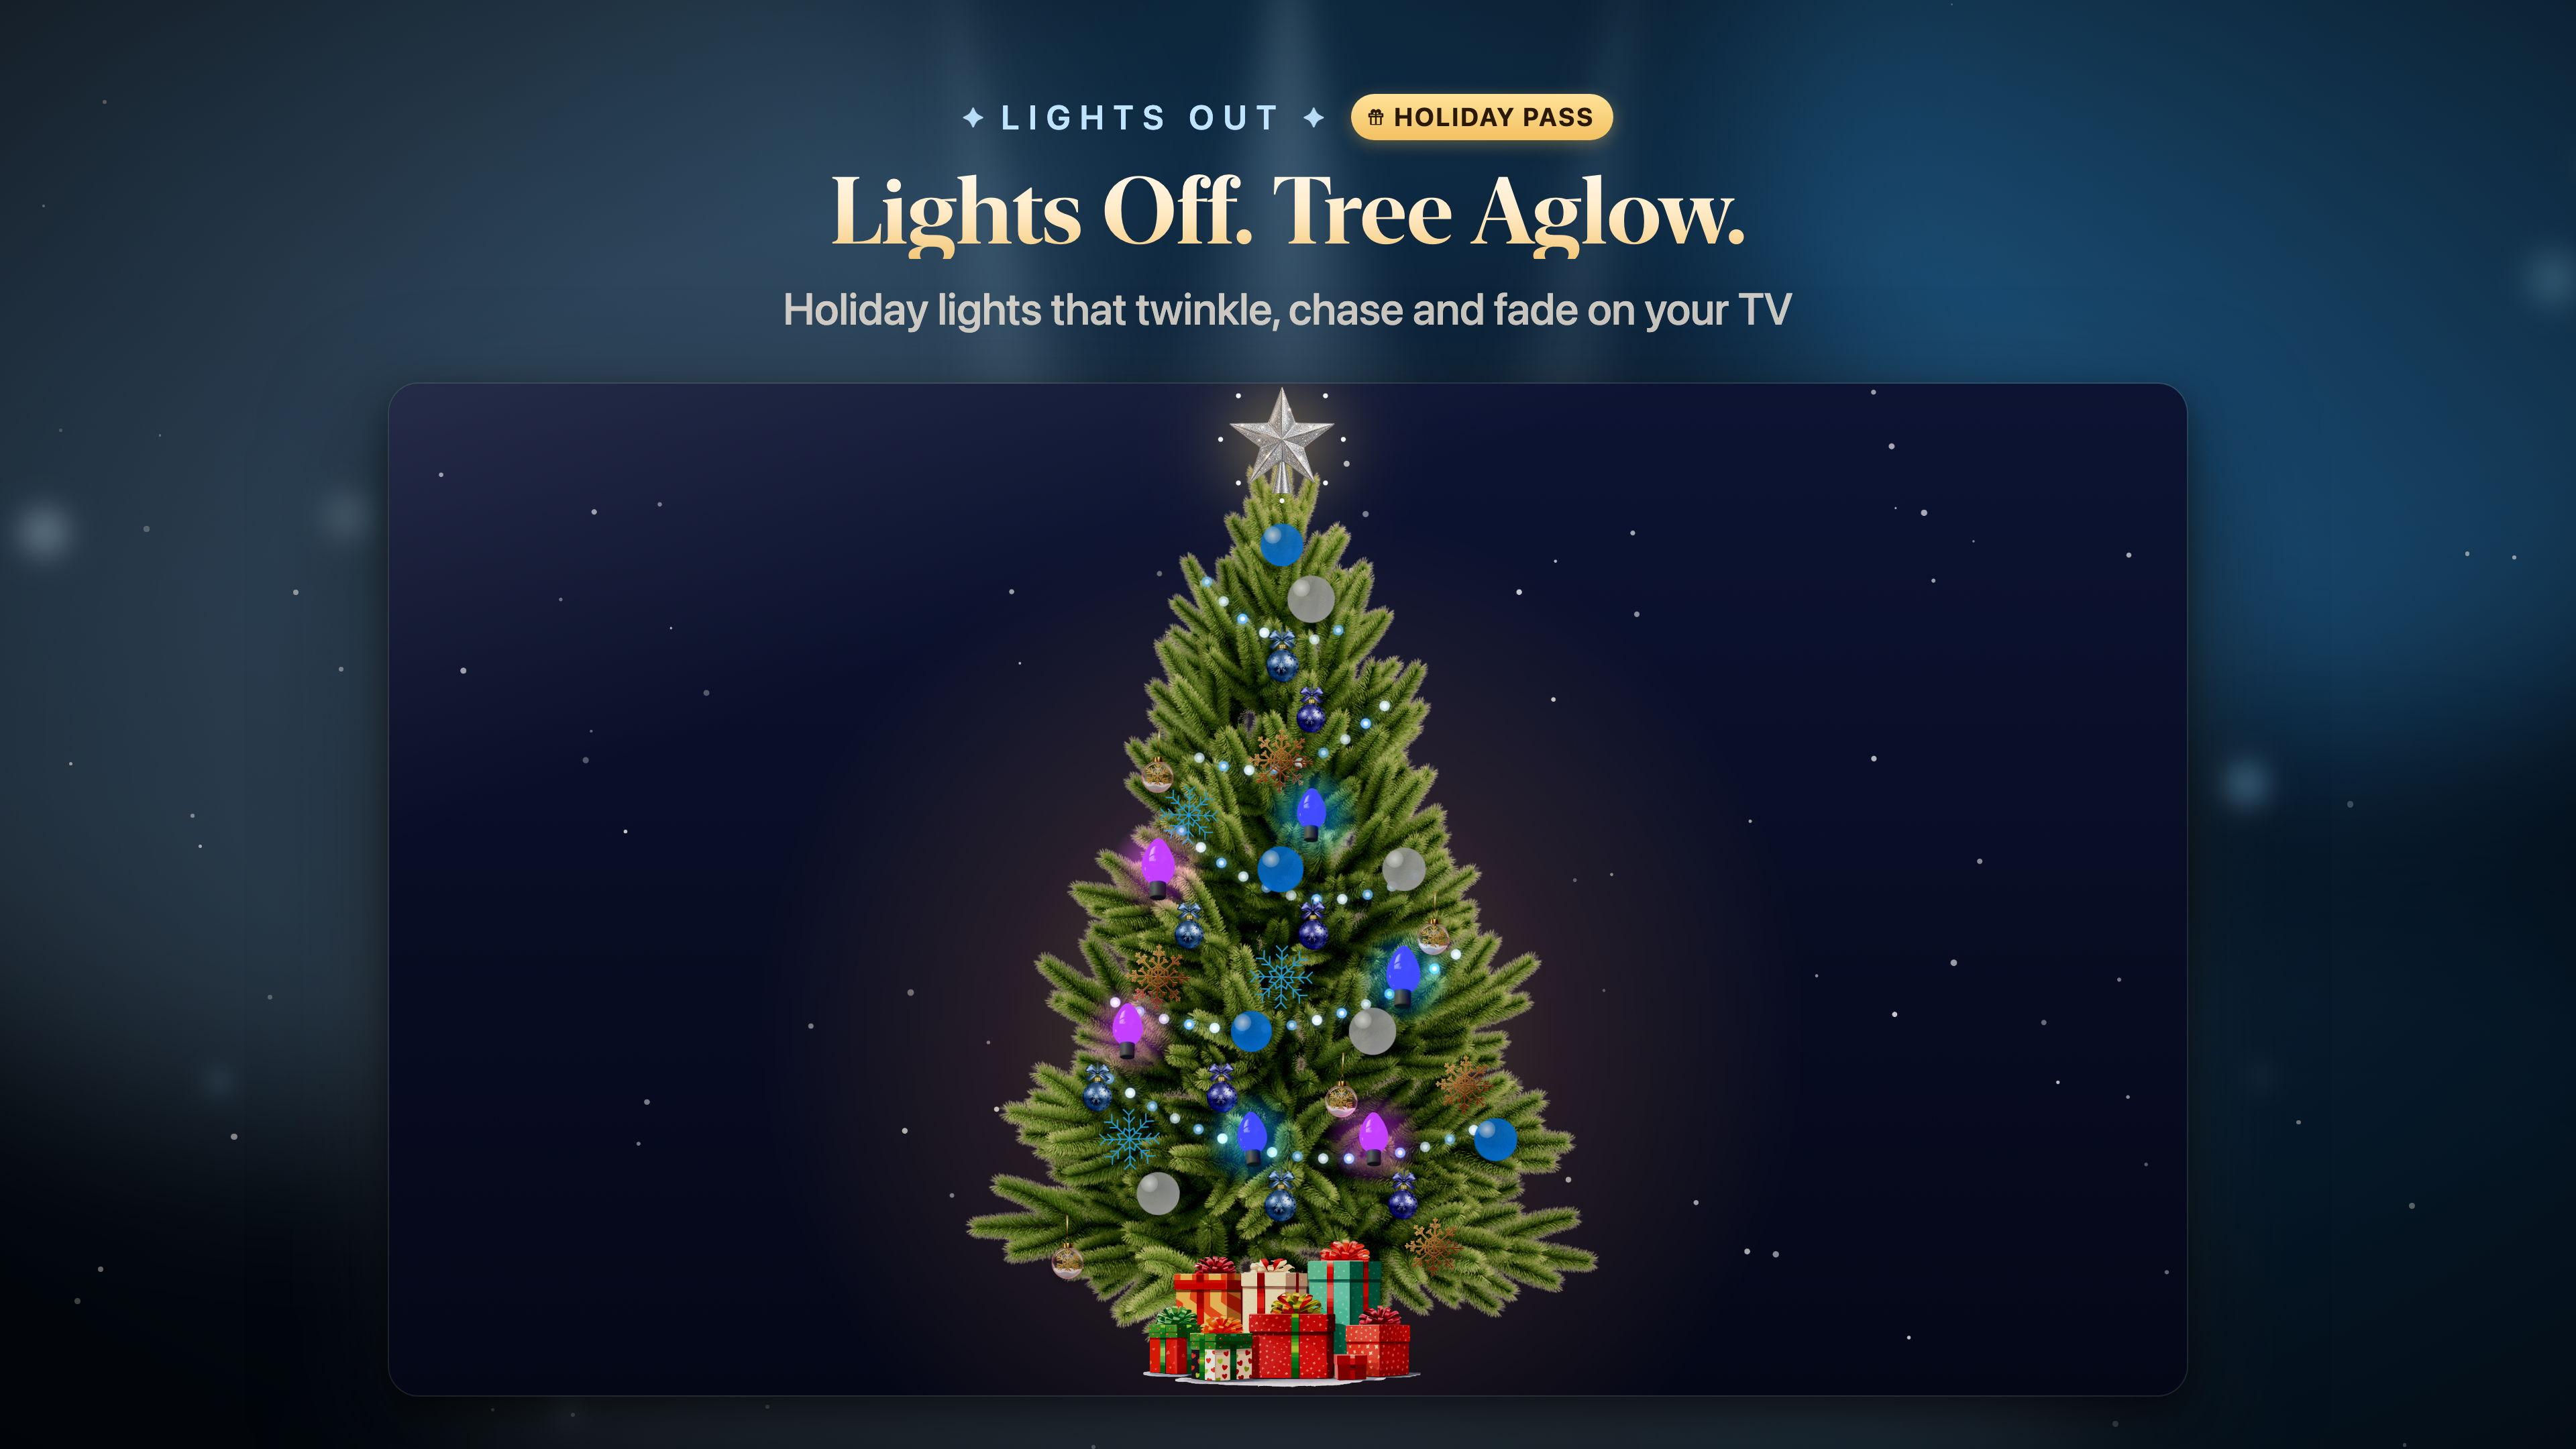
Turn off the room lights and look at the tree from across the room. Dark patches show immediately: add lights or move a garland to fill them. Then look again from the sofa, where most people will actually see it.
Common mistakes
- Lights put on last, lying across the ornaments.
- All ornaments on the outer tips, so the tree looks flat.
- Large baubles clustered at eye level, small ones scattered at the top.
- Too many colours and styles at once. Choosing two or three colours makes even inexpensive ornaments look deliberate.
- A topper chosen before the tree was finished.
Practising without the ladder
The order is easy to learn and slightly tedious to apply to a real tree. A virtual tree on the TV is a fair place to try colour schemes and placement before the boxes come down from the loft - and a good way to let children decorate a tree of their own, as many times as they like.